Replacing a recessed GU10 spotlight: the step-by-step method
This article is also available in French: Comment remplacer un spot encastrable gu10
What is a recessed GU10 spotlight, and what exactly are you replacing?
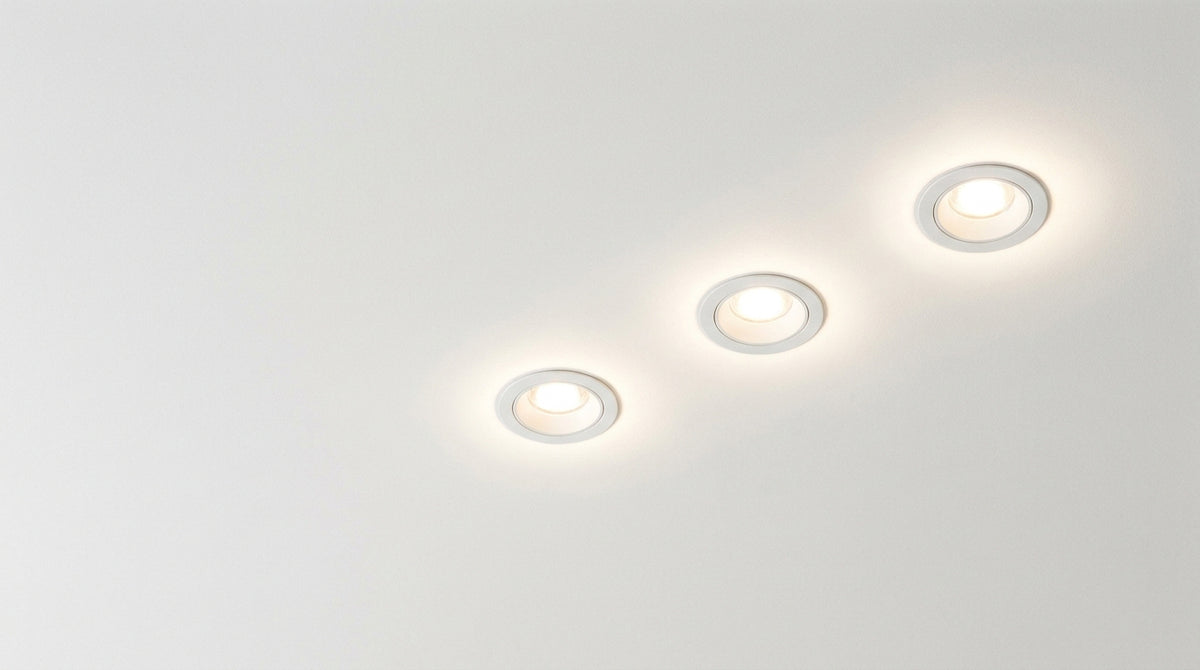
A GU10 spotlight is a recessed fixture whose bulb can be changed. The GU10 base is a two-pin socket supplied at 230 V, with no transformer to hunt for. You replace the bulb, not the housing. An integrated LED module, on the other hand, cannot be dismantled: it is one piece with the fixture.
What do you replace in a GU10 spotlight, and what should you leave in place?
Only one part comes out, and that is the bulb. The rest of the fixture stays put. In our LED spotlight collection, socket models are in the minority, which explains many a surprise in front of an already drilled ceiling.
- The GU10 bulb: it comes out with a quarter turn and is replaced like for like.
- The housing and its spring: they stay in the ceiling, hands off.
- The integrated LED module: no socket, so nothing to remove.
One glance inside the housing tells you which you have. Two holes facing each other, you have a replaceable socket. A smooth disc with soldered diodes, there is nothing to change. The next step is choosing from the GU10 LED bulb collection.
How do you recognise a GU10 base on your spotlight?
The GU10 has two round pins spaced 10 mm apart, each ending in a slight bulge. That bulge is what locks the bulb into the socket after the quarter turn.
A survey of 249 references from our LED Spotlight collection on 29 September 2026 gives 96% LED bases and 3% GU10 bases. In other words, check before you buy. Comparing bulb base sizes saves you from going home with the wrong reference.
How do you replace a recessed GU10 spotlight, step by step?
Switch off the breaker for the lighting circuit and let it cool for ten minutes if the spotlight has just been on. Stick a suction cup to the centre of the bulb, twist a quarter turn anticlockwise, and the bulb comes down. Nothing else comes out.
How do you get the GU10 bulb out without breaking it?
The glass is thin and the suction cup does not always grip. Three moves are enough, in this order.
- Adhesive tape: two strips crossed over the glass, then pull while twisting.
- The suction cup: one from a wall hook works perfectly.
- The rubber glove: it improves grip when the bulb sits flush with the ceiling.
- Never pliers on the glass: it breaks inside the socket and then the housing has to come out.
How do you fit the new bulb and check it is seated?
Line the two pins up with the two notches, push all the way in, then turn a quarter turn until it clicks. Switch the power back on and look at the beam: if it points towards the wall, the bulb is seated one notch off.
The same move works in reverse, especially when the socket is dirty. Our guide to changing the bulb in a recessed spotlight covers every position, low ceilings included.
When several spotlights need redoing or the ceiling has to be redone, it is better to plan the whole thing up front: booking an appointment with the team avoids a third visit.
How do you change a recessed spotlight without clips, with a bezel or tiltable?
Without clips, the housing is held by friction in the cut-out: slide a thin spatula under the bezel and lever very gradually. On a tiltable spotlight, the ring comes free before the socket. An integrated LED, on the other hand, cannot be replaced: the whole fixture has to be changed.
How do you change a recessed spotlight without clips?
Always lever from the edge, never from the centre of the bulb. Go down a millimetre, move the spatula half a turn, start again.
- The lost spring: replace it rather than forcing it, or the housing will fall back out.
- The paint around it: slide a rigid card between the spatula and the ceiling.
- The stuck housing: a warm hairdryer softens paint caught in the joint.
Leverage points vary from model to model, and the detail for a spotlight without clips covers the cases where the housing still resists.
How do you change the bulb in a spotlight with a bezel or tiltable one?
On a tiltable model, angle the swivel down before turning: you gain access to the socket without forcing the spring. On a fixed bezel, the ring comes out first.
- Tiltable spotlight: swivel at 45°, then a quarter turn on the bulb.
- Fixed bezel: the ring unclips, the bulb is fully exposed.
- Bayonet bezel: a quarter turn on the ring, then a quarter turn on the bulb.
The ring and swivel variants are detailed for a tiltable spotlight bulb. As for replacement, a new directional spotlight is chosen with the same GU10 socket: only the angle changes.
Is it possible to change an integrated LED bulb?
No, not if the LED is integrated. An integrated LED is soldered to a board housed in the fixture: there is no socket, no pins, no bulb to remove. That is the difference from an LED bulb, which screws or clips into a standard socket.
The lifespan of an integrated module far exceeds that of a bulb, but it is the power electronics that fail first. At that point the question changes, and our article on changing a recessed spotlight covers replacing the complete fixture.
Two or three spotlights to redo, a ceiling to repaint after removal, and the decision becomes trickier. The Designix Google listing gives the workshop address and lets you see who has already been there.
Which case are you in exactly?
Which spotlights should you choose for each room?
Start with the IP rating: IP20 is enough in a living room or hallway, IP44 becomes necessary near a shower. Then the colour temperature, 2700 K for warm light, 3000 K for a crisper look. The beam angle comes last.
Which spotlight for a living room, a kitchen or a hallway?
| Room | IP rating | Colour temperature | What to look at first |
|---|---|---|---|
| Living room | IP20 | 2700 K | the cut-out diameter and the angle |
| Kitchen | IP20 | 3000 to 4000 K | the distance from the worktop |
| Hallway | IP20 | 3000 K | the orientation along the wall |
| Bathroom | IP44 | 2700 K | the zone relative to the shower |
Measure the diameter before buying anything: a 55 mm recessed spotlight will not fit a 68 mm hole, and the reverse leaves a visible gap in the ceiling.
In a kitchen, two spotlights above the worktop light better than four scattered ones. Add a kitchen light when the room also needs ambient lighting.
If the ceiling cannot be drilled at all, the question shifts: a ceiling light is surface-mounted and does the same job without a hole.
Which spotlight for a bathroom?
Water calls for reinforced protection and light that does not wash out skin tones. In the same survey of 249 references on 29 September 2026, 96% list IP20 and only 18% a recessed fitting, the rest being track-mounted.
- IP44 minimum in the zone near the basin or shower.
- 2700 K in front of the mirror, to avoid the classroom effect.
- Distribution: two well-placed spotlights beat four badly aligned ones.
Every wet room has its constraints, and the detail for a recessed spotlight in a bathroom covers the wet zones one by one.
If the room is used in the evening, a dimmable spotlight changes the mood more than a more powerful one. That requires a dimmable LED bulb and a dimmer compatible with the circuit load.
Recessed spotlights and GU10 bulbs to fit like for like


On the same subject
In stock · shipping costs shown at checkout · up to 30% off in your cart


Ready to turn inspiration into reality?
Tell us about your room, your style and your budget, and we will show you the pieces that truly suit your project.
Get guidance in 30 seconds →