Changing a recessed spotlight: the safe, step-by-step method
This article is also available in French: Changer spot encastrable
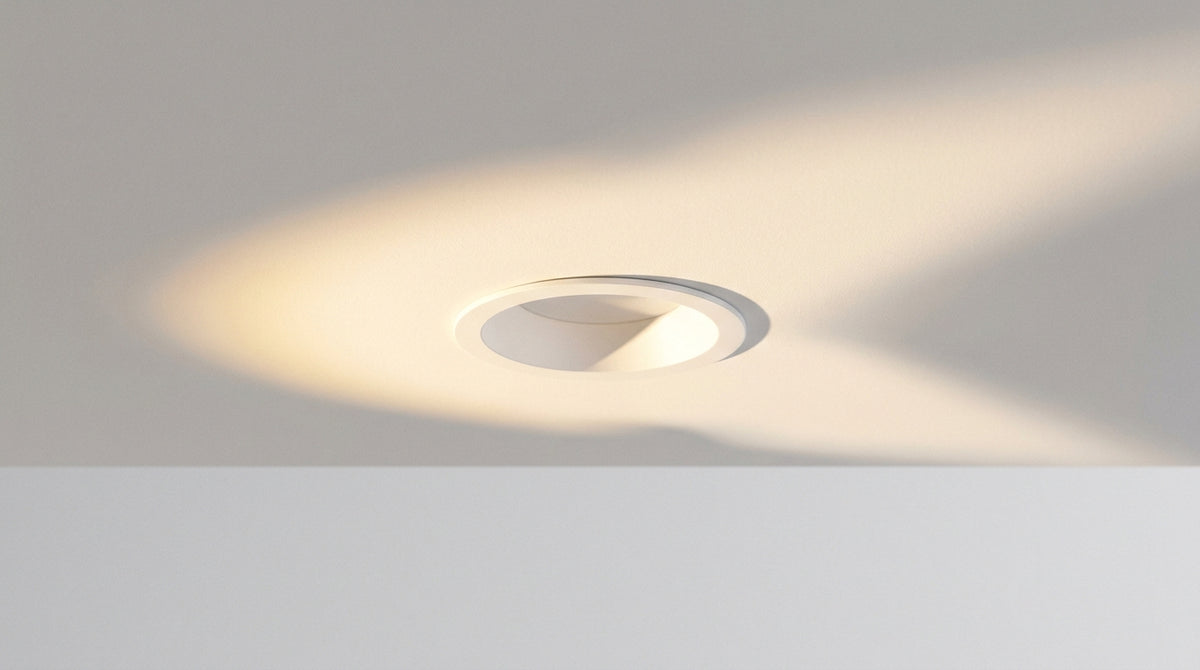
Switch off the power at the consumer unit, check that there is no voltage with a voltage tester, then push the two springs upwards or unscrew the ring by a quarter turn depending on the fixing. The spotlight then drops into your hand on its own. You will only know what needs replacing once the unit is out of the ceiling.
How do you remove a recessed spotlight from the ceiling?
The spotlight is removed from below, without touching the ceiling. First identify the fixing: two springs to push upwards on most installations, a ring to unscrew by a quarter turn on models with a bezel, a tab to push on units without a rim. Then pull straight down.
Switch off the power and check with a tester
The circuit breaker for the lighting circuit is enough, provided no other circuit runs off the same supply. On a living room renovation, this initial check determines everything else: once the ceiling is closed up, nobody wants to come back down.
- Lighting circuit breaker off, then check with a tester on both terminals of the spotlight
- Spotlight cooled down: a halogen stays hot for several minutes after being switched off
- Stable stepladder and one free hand to catch the unit
- Spare connector within reach, a wago that slips out of the terminal block is not easily found
Spring, screw ring or tab: identify the fixing before pulling
Three types of fixing cover almost all ceilings. Pulling without identifying the fixing damages the plaster or breaks the spring.
| Fixing | What you see | The move |
|---|---|---|
| Springs | Two metal wires visible on either side | Pinch upwards, then let it come down |
| Screw ring | Flush bezel with a discreet slot | Unscrew by a quarter turn, without forcing |
| Tab | Small metal tab under the rim | Push towards the centre and pull along the axis |
On a plaster ceiling, the hole is often wider than the spotlight: the spring has nothing to grip and dust falls down. A flat cloth under the unit saves you cleaning everything afterwards.
GU10 bulb spotlight or integrated LED unit: what do you replace?
On a spotlight with a base, only the bulb comes out: the body stays in the ceiling. On an integrated LED unit, bulb, module and heat sink are a single piece, and the whole spotlight has to be put back. The step, the cost and the time involved are not comparable.
GU10 base: only the bulb is replaced
You keep the terminal block, the spring and the ring, and you change the light source. The replacement comes down to a reference for GU10 LED bulbs, chosen on its flux and colour temperature rather than its stated wattage.
On a survey of 249 references from our Spot LED collection as of 29 September 2026, the stated base is LED in 96% of cases and GU10 in 3%; the stated warranty is 5 years in 96% of that same survey.
Integrated LED unit: the whole spotlight is replaced
The module is rarely sold separately. Note the cut-out diameter and the depth of the housing before looking for an equivalent. Our collection of recessed LED spotlights has 1,575 references as of 29 September 2026; of the 249 product pages surveyed the same day, the mounting is stated as track in 82% of cases and recessed in 18%.
If you are unsure whether to move a point rather than replace it, the distance between spotlights in the ceiling is worked out before drilling.
Recessed LED spotlights to discover


How do you change a recessed spotlight without clips?
Unscrew the ring by a quarter turn and the spotlight drops out: the ring was holding the unit, there is no spring. On models without a rim, nothing comes apart; the bulb is removed from its socket by pinching it or twisting it a quarter turn.
Screw ring: the quarter turn that releases the spotlight
The bezel is recognisable by its fine slot. Unscrew anticlockwise, without leverage: the ring often holds a seal that does not replace itself. The replacement then continues away from the ceiling, as when changing the bulb of a recessed spotlight resting on a workbench.
Spotlight without a rim and integrated LED bulb
Some units have neither spring nor ring: the light source is crimped onto a bayonet base. The recessed spotlight bulb without clips comes out by pressing lightly, then turning a quarter turn. If the unit resists, the module is crimped.
This is the borderline case that decides everything: a spotlight without a rim with a crimped module cannot be repaired, and no pliers will change that.
Replacing a halogen spotlight with an LED, in the kitchen or bathroom: what changes
The base stays the same, the wattage does not. A replacement LED is chosen on its flux in lumens and its colour temperature, never on the watts of the halogen it replaces. In a damp room, the protection rating decides before anything else.
Keep the base and think in lumens
A GU10 halogen spotlight is replaced by a GU10 LED without touching the terminal block. Just check the bulb base size before ordering: two references that look alike do not fit the same socket.
The old dimmer, the only real trap
A dimmer installed fifteen years ago and an LED do not always understand each other: the brightness jumps, buzzes or goes out halfway. The problem comes from the dimmer, not the bulb. A dimmable spotlight paired with a compatible dimmer settles the question; if not, keep a non-dimmable bulb at that point.
Protection rating in the kitchen and bathroom
On the survey of 249 references from our Spot LED collection as of 29 September 2026, the stated rating is IP20 in 96% of cases, IP44 in 2% and IP65 in 2%. A standard ceiling spotlight therefore has no place above a shower.
- IP20 for a dry ceiling: living room, bedroom, hallway
- IP44 in the bathroom, away from direct spray
- IP65 under a canopy or in a very damp room
- Kitchen grease: a protective glass can be cleaned, a bare module tarnishes
Above an island, a kitchen pendant hangs at eye level and frees the ceiling of unnecessary points. Around a mirror, wall lights illuminate the face without casting shadows.
Which recessed spotlight do you need to replace at home?
What is the cost of installing a recessed spotlight?
The price depends on the number of points, access to the ceiling and the condition of the existing circuit, not on the spotlight itself. A quote is built on these three variables and separates the supply from the labour. No amount quoted without seeing the ceiling holds up.
Three variables make up the quote
- Number of points: the first costs more than the following ones, once access is open
- Access: a solid ceiling, a removable panel or a lost loft space changes the time spent
- Existing circuit: earth, cable cross-section and condition of the terminal block are checked before reconnecting
- Removal: taking out the old spotlight, filling in and finishing off is part of the work
The establishment's Google listing, in Vaulx-en-Velin, can be checked in one click: verifiable reviews. Better to consult it than an anonymous form.
How many points to plan for, and at what distance
The number is set by a simple calculation: the number of spotlights per m² is worked out from the ceiling height and the use of the room. In a living room, it is better to spread the points out than to concentrate them in the centre, as detailed in our guide to installing recessed spotlights in a living room.
Then there is the colour temperature. A 2700 K extends a warm atmosphere, a 4000 K makes a kitchen easier to read. The choice between white or yellow light is made before buying, not after installation.
If you would rather entrust the installation than the removal, describe your setup to get your project priced: pricing is done before the work, never after.
Related reading
In stock · shipping costs shown at checkout · up to 30% off in your cart


Ready to turn inspiration into reality?
Tell us about your room, your style and your budget, and we will show you the pieces that truly suit your project.
Get guidance in 30 seconds →