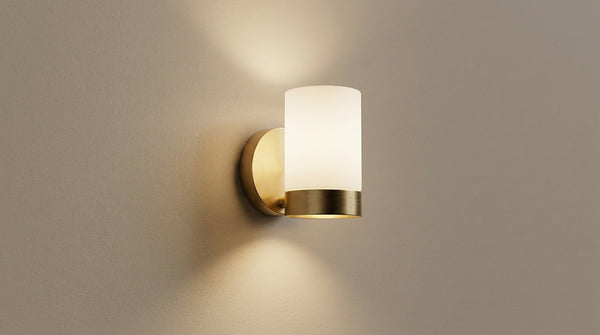
Installing a light fixture: the safe, step-by-step guide
This article is also available in French: Brancher luminaire
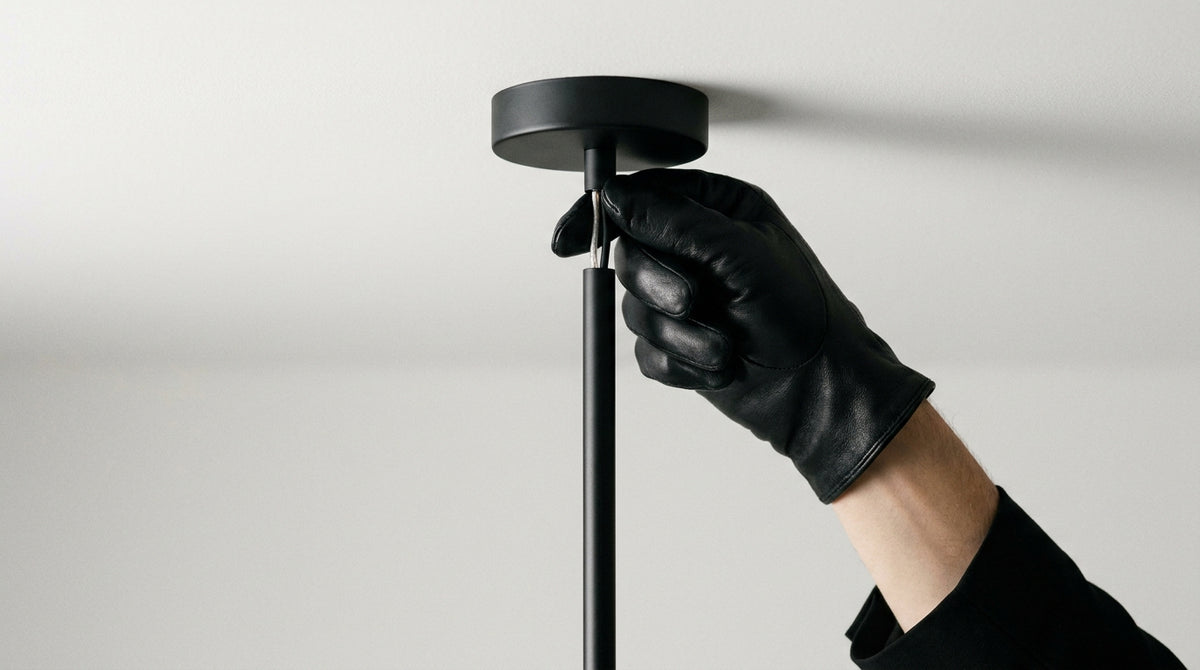
Switch off the power at the breaker, then identify the wires before touching any connector. On a three-wire circuit, the live wire goes to terminal L, the neutral to N, and the earth to the green terminal. A two-wire light fixture is connected without earth, after checking its class.
How do you connect the wires to a light fixture?
Connect the live wire to terminal L, the neutral to N, and the earth to the dedicated terminal. Tighten, pull gently on each wire to check it holds, then switch the breaker back on. The direction cannot be guessed: it is read on the terminal, or measured with a multimeter when the marking has worn off.
How do you identify live, neutral and earth?
Blue for neutral, green-yellow for earth, the rest for live. These markers are read on the fixture's terminal block, not on the sheath coming out of the ceiling.
- Blue: neutral, always on terminal N.
- Green-yellow: earth, on the terminal marked with the corresponding symbol.
- Brown, red or black: live, on terminal L.
- Grey or orange: a switch return, to be treated as live.
The logic stays the same from a discreet ceiling light to a designer light fixture with several fixing points: three markers, three connections. Changing model does not change the method.
Does a DCL box change the connection?
No, it simplifies it. On a recent ceiling, a DCL box waits with its plug-and-socket connector: you plug the fixture into the socket, without opening any connection. The connection is made once, for all the fixtures that follow.
The task of installing a light fixture on a DCL box comes down to two points: the plug must click firmly into place, and the cover must lock before power is restored. A poorly engaged box is the most common fault on this type of installation. For a ceiling without DCL, an LED ceiling light with an accessible terminal block is just as easy to fit, with a connector block or a Wago.
How do you connect a two-wire light fixture to a three-wire circuit?
You connect the live and neutral, then leave the installation's earth wire waiting in an insulated connector block or Wago, without cutting it. Nothing changes at the consumer unit. The fixture works, and the earth remains available for the next device that needs it.
Connecting a light fixture without earth
Two wires, two terminals: live to L, neutral to N. No bridging, no tricks. The detail that matters is the order: connect, pull on each wire, fix in place, and only then switch the breaker back on.
- Wago: quick, reusable, ideal for an earth wire left waiting.
- Connector block: effective, to be retightened once after a few weeks.
- Heat-shrink tubing: unnecessary here, and a source of poor contact if badly fitted.
The case of two-wire fixtures on an old supply comes up often, and connecting a lamp to the ceiling without earth mainly calls for method, not special tools.
What to do with an unconnected earth
It stays connected to the circuit, never cut flush with the sheath. Fold it neatly into the box, under a Wago, and note its presence for the next person. A cut earth is a lost wire, and a lost wire turns up years later with no marker.
If several light points come from the same supply, it is better to think upstream before closing everything up, as explained in the method for several lamps on a single supply. And for a new circuit, it is better to know before drilling whether you want to wire lights in series or in parallel: the everyday result is not the same.
What colour are the connection wires for a chandelier?
Blue for neutral, green-yellow for earth, brown, red or black for live. On a chandelier, these wires come either from a DCL box or directly from the ceiling. The colour code is a solid convention, not proof: at the slightest doubt, measure.
| Wire | Common colour | Terminal |
|---|---|---|
| Live | Brown, red or black | L |
| Neutral | Blue | N |
| Earth | Green-yellow | Earth symbol |
When the colour code is no longer guaranteed
In an old installation, the live wire may be blue and the neutral red. Nobody did anything wrong: practices have changed, and some circuits have been reworked several times. On a chandelier reconnected at the ceiling, this is the most common case.
- Green-yellow wire present: the earth is identifiable, keep it as a fixed marker.
- Two wires of the same colour: assume nothing is reliable until measured.
- Three identical wires: the fixture's terminal block alone will not be enough, test with a multimeter.
The check before connecting
Tester or multimeter set to AC voltage, one probe on each wire, the other on a known earth. The wire showing voltage is live, the one showing nothing is neutral. It takes thirty seconds and avoids crossing the markers.
On this type of reconnection, colour is only a starting indication: the chandelier's 3 wires are always confirmed by a measurement, never by habit. It is also what separates a quick replacement from a lost Sunday afternoon. A heavy chandelier is also easier to fit with two people, once the identification is done.
If the consumer unit intimidates you more than the fixture itself, our team can have your installation checked: go through the contact page, and you will leave with a clear answer.
Is earthing a light fixture mandatory?
No, earthing is only mandatory if the fixture is class I, with a metal body connected to earth. A class II double-insulated fixture does without it. In a damp room, the real question is not the earth but the protection rating of the model chosen.
In a damp room
Water changes the rules. On a survey of 250 references in our catalogue as of 5 October 2026, 94% are rated IP20 and 3% IP65. In other words, the vast majority of what is sold for dry interiors has no place above a bathtub, earth connected or not. A model must show IP44 minimum for an area exposed to splashes.
For these rooms, it is better to aim for a family designed for it, such as IP44 wall lights, rather than adapting an interior model.
On a metal light fixture
Visible metal, earth mandatory. If the body is conductive and a live wire touches it by accident, the earth clears the fault and trips the protection. Without it, the person who touches it closes the circuit.
- Class I: metal body, earth terminal to connect.
- Class II: double insulation, double square symbol, no earth.
- Class III: very low voltage, not relevant for a mains-powered fixture.
How do you connect a ceiling light fixture, step by step?
Switch off, identify, connect, fix, restore power: five steps, in that order. Never switch the breaker back on before the fixture is fixed and each connection has been pulled. On our survey of 250 references as of 5 October 2026, 45% are pendants and 36% are wall-mounted: the task changes, the method does not.
- Switch off at the breaker and check there is no voltage with the tester.
- Identify each wire and the terminal it corresponds to.
- Connect live, neutral, then earth if the fixture has one.
- Fix the fixture or its hook before tightening the wires.
- Switch the breaker back on and test the switch.
A heavy fixture does not hold on two wall plugs. It hangs from a hook, in the structure, and the order of operations then matters even more: hanging a chandelier starts with the support, never with the wires.
Light fixtures designed for simple connection
 Pendant light | Bravara
 Pendant light | Harmonie Florale
 Pendant light | Mirdanissa
 Ceiling light | Dorica
 Ceiling light | Cylira
 Living room floor lamp | Foglia
See the full selection: Alternative to Luminaire.fr: designer lighting shop | Designix
Once the connection is mastered, the choice comes down to the room and the height. For a high ceiling, installing a pendant light mainly means adjusting the drop before tightening the terminal block, and a well-adjusted pendant light illuminates without glare. Above a table, a dining room light is chosen first for its light, then for its shape.
The alternative collection has 21,689 references as of 5 October 2026, including a selection designed for interiors: enough to find the model that suits the room without improvising. Also think of the simplest task, the one that requires no power cut, by learning to change a bulb safely.
In stock · shipping costs shown at checkout · up to 30% off in your cart


Ready to turn inspiration into reality?
Tell us about your room, your style and your budget, and we will show you the pieces that truly suit your project.
Get guidance in 30 seconds →