How to fit a ceiling chandelier safely, step by step
This article is also available in French: Comment mettre un lustre
Switch off the lighting circuit breaker, check that there is no voltage with a voltage tester, then choose the fixing before drilling: a toggle hook in an old ceiling, a bar with plugs in concrete. Never the bulb holder alone as an anchor point.
Which fixing for which ceiling?
The support dictates everything. A solid slab takes a bar screwed in with expansion plugs. Old plaster or hollow brick requires a toggle hook or a Molly plug, which open out behind the surface. The anchor point is always the structure, never the wire.
On a full renovation, the fixing is treated as part of the overall plan: a bespoke lighting project settles it at the same time as the height and the style, which avoids drilling again six months later.
How to fix a chandelier to the ceiling with a hook?
The hook screwed into a toggle plug passes through the board and opens out behind it: the load is spread over a much larger surface than a thread. Check the steel before reusing a hook already in place, a corroded hook breaks without warning.
If the old one is tired, remove it and start again from the same hole when the diameter allows. The full procedure is detailed in our guide to fixing a chandelier with a hook.
How to install a chandelier without drilling the ceiling?
Three routes exist, none of them needs a drill bit. An LED ceiling light fitted flush with the ceiling barely pulls on the plug and settles the weight question in one go.
- Wide canopy: it covers an existing hole and avoids a new drill hole.
- Original hole spacings: they serve as a template if the new bar lines up.
- Hook in place: test its hold by hand before hanging.
When the ceiling already has a central mark, the model matters as much as the fixing, as our article which chandelier with a canopy explains.
Before drilling into a ceiling whose structure you do not know, have the fixing and the model checked: the Designix team answers you on the contact page.
Which drill bit for drilling a ceiling?
A bit at the exact diameter of the plug, as stated on the packaging. In a solid slab or stone, the hammer action does the work. In plaster or tile, a wood bit turns more cleanly and breaks the surface less. A blunt bit heats up and enlarges the hole, replace it.
Which plug diameter for which support?
The diameter follows the load and the nature of the support, not the size of the chandelier.
| Support | Fixing | What changes |
|---|---|---|
| Concrete, solid slab | Expansion plug | Hammer drilling, dust vacuumed up |
| Hollow brick | Toggle plug | Hammer action off, the partition cracks quickly |
| Plasterboard | Molly or toggle | The fixing must open out behind the board |
| Old ceiling | Existing hole spacings | Reuse the holes instead of adding new ones |
Concrete, brick or board: what changes when drilling
- Concrete: hammer action, vacuuming, expansion plug.
- Hollow brick: the bit can pass through a void and miss the grip, probe first.
- Plasterboard: a simple plug holds a light fitting, not a chandelier.
- Old plaster: the support may sound solid then be hollow over a few centimetres.
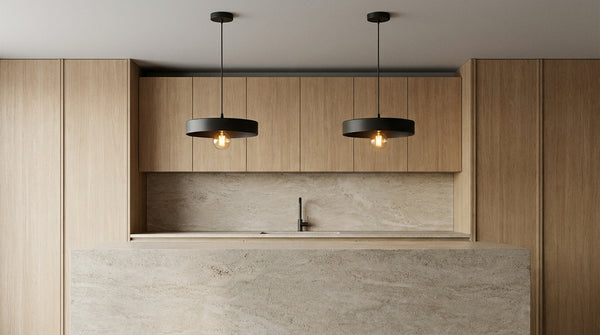
An identified support is also what lets you calmly plan a kitchen pendant above an island, where the fixing point often falls in a solid slab.
How to wire a chandelier without making a mistake?
Blue to neutral, green-yellow to earth, brown or black to live. One connector per wire, never two twisted conductors under the same screw. Tighten, tug gently on each connection to check, and only then switch the breaker back on.
How to identify live, neutral and earth?
Three markers are enough: blue for neutral, green-yellow for earth, brown, black or red for live. On an old installation without earth, the green-yellow conductor stays isolated in a connector. It is never connected to a live wire to save cable.
The colour variants and the single-wire cases are covered in our guide to wiring a three-wire chandelier.
On the bulb holder side, the large cap remains the norm: across a sample of 88 references from our catalogue on 5 October 2026, the E27 cap accounts for 47%, GU10 19%, G9 14% and E14 11%. CE certification is declared on 100% of these listings.
How to fit a chandelier to a DCL ceiling outlet?
The DCL box comes off with a quarter turn and reveals a terminal block with a keyed connector. The chandelier connects to it without a connector block, and the connection is made without tools if you change model later. The earth is already taken there, which makes metal structures safer.
The detail of the procedure, terminal by terminal, is in our article on fitting a chandelier to a DCL box.
How to get a chandelier straight?
Three adjustments, in this order: the height below the shade, the plumb of the body, the symmetry of the suspensions. Mark a reference on the wall before tightening, then adjust the cable at the hook. Pulling on the canopy to make up for a fault damages the ceiling.
How to set the height of a chandelier above a table?
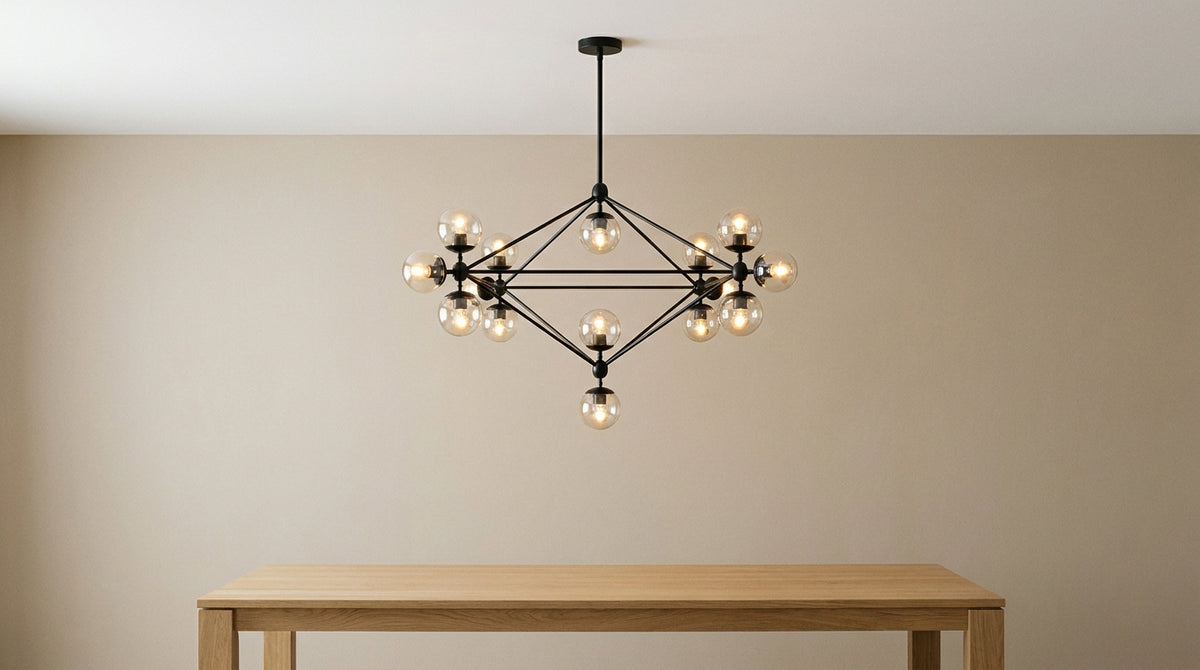
The usual rule places the bottom of the fitting between 75 and 85 cm above the tabletop. Lower, the light flattens faces. Higher, the table falls out of the halo and the room loses its anchor point. The measurement is taken with the shade in place, not on the plan.
Under a ceiling of more than three metres, the same measurement shifts downwards to keep the halo on the tabletop, a case detailed in our article on ceiling height.
The rest comes down to proportions: a wide tabletop takes a generous diameter, a narrow room is content with a vertical model. Our lighting and decoration advice goes into this detail room by room.
Once the height is set, the question becomes the model. The chandelier selection brings together the pieces calibrated for a living room.
For a table set for six, a dining room chandelier hangs lower and covers the table better.
In a bedroom, where the pendant passes near a wall, a more compact bedroom chandelier avoids knocking the bed frame.
How to check the plumb when the ceiling slopes?
A spirit level placed on the shade gives the answer, a plumb line confirms it. On a sloping ceiling, the compensation is made at the hook and on the cable length, never by twisting the canopy. The line of sight must stay horizontal, even if the fixing point is not.
When the hesitation is about the look rather than the technique, Designix's Google listing shows what other projects have produced.
Chandeliers ready to be fitted


What are the common mistakes when installing a light fitting?
Four come back almost every time: hanging a heavy chandelier on the bulb holder, drilling without identifying the support, confusing live and neutral, switching the breaker back on before pulling on each connection. Three are spotted before you even climb the stepladder.
Hanging a heavy chandelier on the bulb holder
A bulb holder holds a few dozen grams, not a glass light fitting. The weight must go through the hook or the bar, never through the terminal block. A chandelier that dangles pulls on the connections and ends up tearing out a conductor.
A glass light fitting weighs more than it looks, which is exactly the case where the anchoring deserves checking twice.
Drilling without having identified the support
A ceiling sounds hollow in some places and solid in others. Probe before drilling: under the board there is sometimes a void, sometimes a beam. A badly placed hole can be filled, a torn-out plug cannot.
The full sequence, from the mark to the final tighten, is covered in our tutorial on installing a pendant light.
In stock · shipping costs shown at checkout · up to 30% off in your cart


Ready to turn inspiration into reality?
Tell us about your room, your style and your budget, and we will show you the pieces that truly suit your project.
Get guidance in 30 seconds →