Lampshade tutorial: redo it or choose it, step by step
This article is also available in French: Tuto abat jour
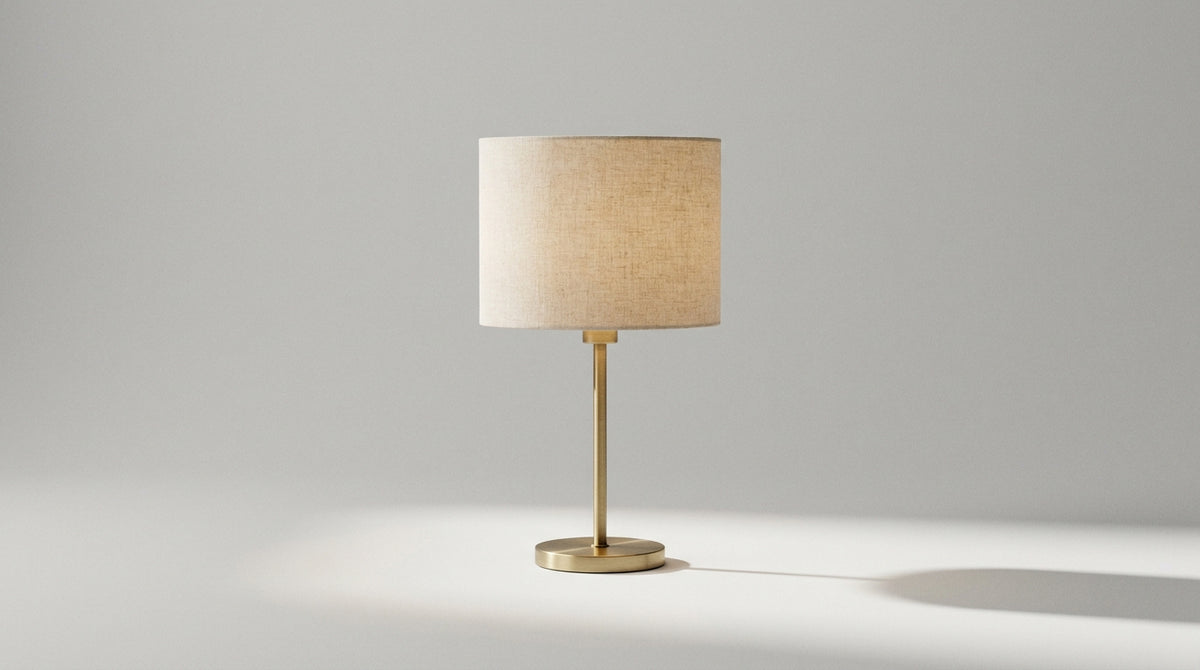
Draw two circles of different diameters, a wide one for the bottom, a narrower one for the top, then transfer the development of the truncated cone onto the material. Allow 1 cm of turn-in at the top and bottom. The tension of the fabric on the frame decides the result, both with the lamp on and off.
How do you make a lampshade with 2 circles?
You draw two circles, connect them with a generatrix, then cut the material along this development. The large circle forms the base, the small one the top. The greater the difference between the two diameters, the more the light travels down towards the table instead of shooting towards the wall.
Bottom width and height are chosen together. A shape that is too flat dazzles, a shape that is too tall narrows the beam. Before cutting, compare the proportions with the room: our decorating tips and inspiration help you find the right volume for the use, bedside, desk or living room corner.
Calculating the frame and the fabric development
The development starts from the perimeter, that is 3.14 multiplied by the diameter, plus the turn-in. The frame is built on the difference between the two circles.
- Large circle: bottom diameter, it sets the width of the light skirt.
- Small circle: top diameter, always wider than the socket.
- Generatrix: distance between the two circles, it gives the height.
- Turn-in: 1 to 2 cm at the top and bottom for gluing.
Metal frame or wooden rings?
Metal holds the shape, wood is quicker to work with. The weight of the fabric often settles the debate.
| Criterion | Metal frame | Wooden rings |
|---|---|---|
| Fabric hold | Strong, the wire does not bend | Correct on light fabrics |
| Implementation | Welding or tying | Direct gluing |
| Heat | Dissipates better | Keep away from the socket |
| Style | Clean lines, taut lines | Craft look, softer |
The same development logic applies when assembling several volumes, for example to make a pendant light with several lampshades.
Making one takes time, especially on large diameters. Our collection of designer lampshades brings together 789 references as of 26 September 2026, in pendant, table lamp and floor lamp, for those who prefer a shape already stretched.
Which fabric to cover a lampshade?
Linen and thick cotton come first: warm light, invisible bulb, easy tension. A fabric that is too thin marks at the back and lets the filament show through. On a survey of 27 listings from our collection as of 26 September 2026, linen is declared on 52 % of the survey, fabric on 26 %, velvet on 15 %.
How do you cover a lampshade with fabric?
You glue the frame, lay the fabric flat, bring the two edges together, then fold back the turn-ins. The seam goes at the back, in line with the socket.
- Ironing: before gluing, never after.
- Glue: neoprene or textile glue, thin layer.
- Sewing: straight stitch, fine needle, matching thread.
- Drying: flat, without a bulb, a whole night.
On an already assembled frame, there is no need to redo the structure: the method to change the fabric of a lampshade is quicker than a full assembly.
What to replace the polyphane with?
This translucent plastic that doubles the lampshade is replaced by thick tracing paper, a thin polypropylene, or an opaque fabric that takes over and softens everything.
- Tracing paper: soft result, yellows near a hot bulb.
- Polypropylene: more resistant, to be placed away from the socket.
- Opaque linen: zero direct light, cosy atmosphere.
- Thin cardboard: for small lamps, it marks folds.
Salvaged materials do not like humidity, and our note on the cardboard lampshade says exactly what to avoid.
A light fabric, on the other hand, is dusted with a roller passed on the inside and washed rarely. The guide to caring for a fabric lampshade details the steps.
How do you paint a lampshade?
You dust, degrease, then apply two thin coats of a flexible paint, matte acrylic or textile paint, drying between the two. A thick coat cracks as soon as the socket heats up.
Which paint to paint a fabric lampshade?
A slightly diluted matte acrylic, or a textile paint that stays flexible after drying. Glossy lacquers and wood paints harden then crack.
- Matte acrylic: the simplest, diluted with water.
- Textile paint: flexible, it follows the fabric.
- Aerosol: in a light veil on an assembled lampshade.
- Pigment: in a matte base, for a custom tone.
An already dyed fabric takes fewer coats than an unbleached one, as our file on painting a lampshade reminds.
How do you make a pleated fabric lampshade?
You pleat dry on a rigid frame, iron each pleat, then glue gradually keeping the same width from one edge to the other.
- Pleat width: regular, 2 to 3 cm, marked with an iron.
- Fabric: cotton or fine linen, never jersey.
- Order: pleat, iron, glue, close the seam.
Lampshades and lights ready to install
 suspension en tissu blanc plissé, abat-jour ovale Ø 60 cm | Velina
 Abat-jour séparé K2011NS – Petit abat-jour en forme de goutte en lin noir fait main Ø25 cm pour douilles E27
 Suspension abat-jour, barre noire 3 velours gris réglable 97-167 cm | Velsa
 Abat-jour K1066QS blanc en lin
 Abat-jour K7396QS en lin blanc
 Liseuse murale arc noire, abat-jour tissu Ø60 | Noctis
See the whole selection: Lampshades: Pendant, Table Lamp and Floor Lamp
If your lampshade resists you, it is sometimes better to start from a sound base: our team helps you
On the same subject
In stock · shipping costs shown at checkout · up to 30% off in your cart


Ready to turn inspiration into reality?
Tell us about your room, your style and your budget, and we will show you the pieces that truly suit your project.
Get guidance in 30 seconds →