Painting a lampshade: the right paint for each material
This article is also available in French: Abat jour à peindre
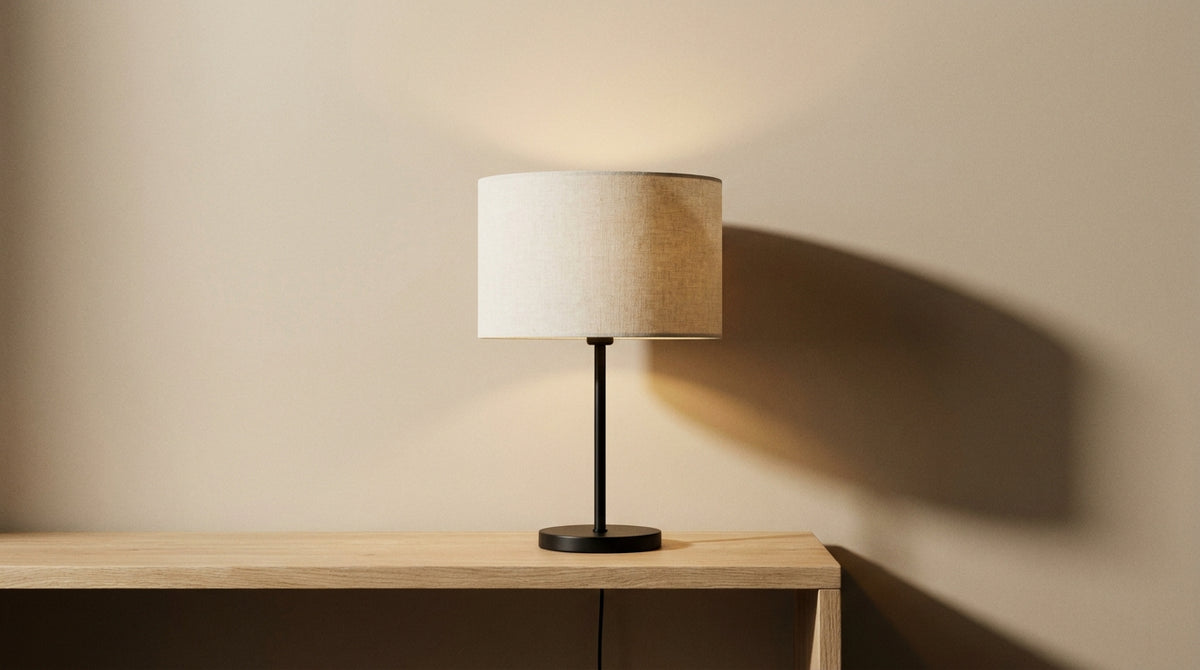
Choose the paint according to the material, never the other way round: diluted matte acrylic on linen and fabric, fine aerosol on paper, adhesion primer then lacquer on metal. Work in light coats to keep the light soft, and check the E27 cap before opening the tin.
Can you paint a lampshade?
Yes, as long as the paint stays thin. A thick coat makes the fabric opaque, the bulb heats up behind a closed surface and the glow disappears. A few light, well-drawn coats are enough to change the shade while keeping the light soft. The material then decides the paint.
A lampshade is worked like fabric stretched over a frame: the paint must follow the weave without drowning it. The safest approach is to start from a sound base, and a lampshade to paint in linen or stretched cotton forgives far more than a synthetic fabric.
What paint changes about diffused light
A light fabric reflects light, a dark fabric filters it. Paint acts as an extra diffuser: it softens the glow, removes hot spots and slightly colours the wall around the lamp.
- Linen and fabric: the weave holds the paint, the glow becomes more velvety
- Paper: the fibre drinks the shade, the finish stays matte, almost chalky
- Metal: smooth surface, crisp light, no diffusion
- Glass: too little adhesion, leave it alone
For a deliberate textured finish, a crackle-effect paint on the lampshade of the light fitting plays on the thickness of the coat and lets light through micro-cracks.
The three cases where it is better to change the lampshade
- Frame broken or non-removable: paint will not hold on a structure that moves
- Thermal lining in thin plastic: it warps with the heat of the bulb
- Size too small: repainting changes the shade, not the volume of light
On this last point, a large lampshade solves the glow question better than a new coat of paint.
Which paint should you choose for each lampshade material?
Each material has its paint: diluted matte acrylic on linen and fabric, fine aerosol on paper, adhesion primer then lacquer on metal. On a survey of 27 lampshades in our catalogue as of 26 September 2026, linen accounts for 52% of the listings, metal 30% and fabric 26%.
Painting a fabric or linen lampshade
Linen and stretched cotton are the easiest surfaces: the fibre absorbs, the shade stays deep and the glow becomes softer instead of harsher.
- Matte acrylic diluted with water, applied with a soft brush
- Chalk paint for a very matte powdery finish, which diffuses more
- Velvet: a textile dye is enough, the pile drinks the colour
- Several thin coats rather than one thick layer
Above all, a careful clean a fabric lampshade prevents dust from being trapped under the paint.
Painting a paper lampshade
Paper drinks paint very quickly and keeps the mark of every stroke. Work with an aerosol, in very fine cross coats, at a good distance: it is the only way to avoid rings and warping.
- Pleated paper: aerosol only, never a brush
- Stretched paper: lay flat, slow drying
- Test on a hidden area before the first visible coat
Painting a metal lampshade
Metal poses only one problem: adhesion. A lacquer applied directly blisters and flakes at the first knock. You need a primer coat, then the finish.
- Degreasing with rubbing alcohol first
- Adhesion primer for metal, in a thin coat
- Matte or satin lacquer as a finish, in cross coats
Can you spray paint a lampshade?
Yes, and it is the most even method. The aerosol lays down a fine film, with no brush marks, which suits paper, metal and rigid plastic. On linen and fabric, the brush remains preferable: the material needs to be fed, not just veiled.
Spray or brush: what each method allows
| Criterion | Spray | Brush |
|---|---|---|
| Ideal surface | Paper, metal, rigid plastic | Linen, fabric, velvet |
| Thickness laid down | Very fine, even | More nourishing |
| Main risk | Runs if you get too close | Brush marks in the weave |
| Control of the shade | Progressive, coat by coat | Immediate, but more decisive |
Redoing the lampshade alone changes the shade; redoing the socket and the cable too is almost making a pendant light from scratch.
Adhesion primer on metal and plastic
Without primer, paint does not hold on metal: the surface is too smooth and the film finds nowhere to anchor. A thin coat of primer, by brush or spray, changes the result.
- Bare metal: adhesion primer or etching primer
- Varnished metal: light sanding, then primer
- Rigid plastic: specific primer, never a direct coat
On an already varnished surface, such as the base of a wooden light fitting, the principle is the same as stripping a varnished or waxed piece of furniture: until the original layer is prepared, the new paint slides off.
Lampshades to personalise or replace
 pleated white fabric pendant light, oval lampshade Ø 60 cm | Velina
 Separate lampshade K2011NS – Small handmade teardrop lampshade in black linen Ø25 cm for E27 sockets
 Pendant lampshade, black bar with 3 grey velvets, adjustable 97-167 cm | Velsa
 White linen lampshade K1066QS
 White linen lampshade K7396QS
 Black arc wall reading light, fabric lampshade Ø60 | Noctis
See the whole selection: Lampshades: Pendant, Table Lamp and Floor Lamp
How should you prepare the surface before painting?
Three steps are enough: dust, degrease, mask off. A soft cloth and warm water on fabric, rubbing alcohol on metal, masking tape on the frame and the cable grommet. Do not touch the painted area with your fingers again, the grease from your skin makes the paint refuse to adhere.
Dust, degrease, mask off
- Dust dry, then with a damp cloth, without rubbing the weave
- Degrease with rubbing alcohol on metal and plastic
- Mask off the top and bottom with masking tape
- Dry completely: nothing adheres to a damp surface
On a very dirty lampshade, it is better first to clean a lampshade according to its material than to trap the dust under the first coat.
Test on a hidden area
Always paint an area no one sees: the inside of the base, under the frame. Drying reveals the true shade, often darker and cooler than in the tin.
- Thorough drying before judging, not just touch-dry
- Lamp switched on: it is the light that decides, not the colour on the brush
- Two surfaces tested in parallel if the lamp mixes wood and metal
Unsure about the shade that will suit once the lamp is on? There is still time to talk to a Designix adviser before buying the tin of paint.
For a series of lampshades to redo on a project, dedicated support is available in our trade area.
What happens to the light once the lampshade is painted?
It drops and takes on colour. A light painted fabric diffuses more softly; a dark fabric absorbs a lot and casts a tint on the wall. The glow tightens, and so does the overall brightness. Compensation comes from the bulb, not from an extra coat.
Choosing your E27 bulb after painting
The cap does not change: on the survey of 27 lampshades in our catalogue, 96% are E27 and 96% are IP20. It is the wattage and the
On the same subject
In stock · shipping costs shown at checkout · up to 30% off in your cart


Ready to turn inspiration into reality?
Tell us about your room, your style and your budget, and we will show you the pieces that truly suit your project.
Get guidance in 30 seconds →