Replacing a kitchen fluorescent light: tube, starter or a new fixture?
This article is also available in French: Comment changer un néon de cuisine
Switch off the circuit breaker, twist the tube a quarter turn in its sockets, then take it out. Check the starter while you are at it, it often flickers while the tube stays cold. A new tube goes back in the opposite way, without forcing. If the light is still missing, the ballast is the culprit.
Why does a kitchen fluorescent light go out or flicker?
A fluorescent tube flickers when the starter or the tube is nearing the end of its life, and goes out completely when the ballast fails. Before ordering anything, isolate the fault: tube, starter, sockets or power supply. Three minutes of checking saves you buying an unnecessary part.
In a 1990s kitchen, the tube is only the visible part. A kitchen and dining room renovation often starts by redoing the whole light point, power supply included.
How do you know if a fluorescent tube is dead?
The diagnosis comes down to four signs, visible to the naked eye.
- Blackened ends: the electrodes are worn, the tube is at the end of its life.
- Flickering on start-up: the starter is tiring before the tube.
- Persistent pink or grey glow: the tube lights up without illuminating, replace it.
- No reaction at all: check the socket, ballast or circuit breaker.
Where is the starter on a fluorescent light?
It sits inside the batten profile, under a small cover at one end, sometimes behind the diffuser. It looks like a short cylinder, clipped into a rotating holder. Our guide on the tube, starter or complete fixture details this part-by-part sorting.
If the ballast is dead, changing the tube is pointless: an LED ceiling light replaces the batten without drilling into the ceiling again.
How do you remove a fluorescent diffuser without breaking it?
Push the diffuser one centimetre to the side, never downwards, then release it from its lugs. On clip models, press both tabs at the same time. The plastic of old battens has yellowed and hardened: slow is better than force.
How do you dismantle a fluorescent batten?
The profile is attached to the bracket by two screws or two clips, visible once the diffuser is removed.
- Circuit breaker off and checked with a voltage tester.
- Sockets spread a few millimetres to free the tube.
- Profile supported with one hand while the other unscrews.
- Wires identified (live, neutral, earth) before any disconnection.
How do you dismantle a kitchen fluorescent light fixed to the ceiling?
A fluorescent light mounted as a ceiling fitting comes off the other way round: the cover first, then the base plate, the connector blocks stay accessible. The weight surprises you once the last screws are out. Our page on the ceiling fluorescent light shows this sequence step by step.
How do you change a fluorescent tube, step by step?
Switch off the circuit breaker, remove the diffuser, twist the tube a quarter turn and take it out of its sockets. A new tube goes in on the same axis, pins aligned, then turns until it makes contact. Close it up, switch back on, test.
- Switch off the circuit breaker and check there is no voltage.
- Remove the diffuser using the method described above.
- Twist the tube a quarter turn, without bending it.
- Insert the new tube, pins in the slots of the sockets.
- Turn, refit the cover, switch on.
Changing a fluorescent tube with an integrated ballast
On a batten with an integrated ballast, the method stays the same: the ballast is fixed inside the profile, you do not touch it. Only the tube is replaced. If the flickering persists with a new tube, follow our method to replace a fluorescent starter.
When should you change a fluorescent starter?
As soon as a new tube flickers or takes several seconds to light up. The starter costs less than a tube and is changed in thirty seconds: a quarter turn to remove it, a click for the new one. On an LED tube, it is no longer used at all.
In your kitchen, what is holding you back today?
If your kitchen needs more than a tube, worktop in shadow, island hard to read, the Designix team can quote for a complete lighting project. Write to us with the dimensions of the room to get a quote for your kitchen lighting.
How do you replace an old fluorescent light with an LED one?
An LED tube only fits certain battens, once the starter is removed and the ballast bypassed. Compare the cap, the length and the type of power supply before buying. A complete LED batten remains the simplest solution when the profile is twenty years old.
| Solution | What you keep | When to choose it |
|---|---|---|
| LED tube on existing batten | Profile and sockets | Compatible ballast, sound batten |
| Complete LED batten | The ceiling bracket | Tired ballast, worn sockets |
| Pendant fixture | Nothing, you start from the cable | Renovated kitchen, desire to change the look |
Can a fluorescent light work without a starter?
Yes, with an LED tube designed for it: its integrated circuit no longer needs ignition and the starter is permanently removed. An LED tube fitted on an incompatible ballast deteriorates within a few weeks, a point our article details for switching to an LED fluorescent tube.
The ballast deserves a look before buying, especially when the batten is old: our page on the fluorescent tube replaced by an LED explains what to bypass and what to leave.
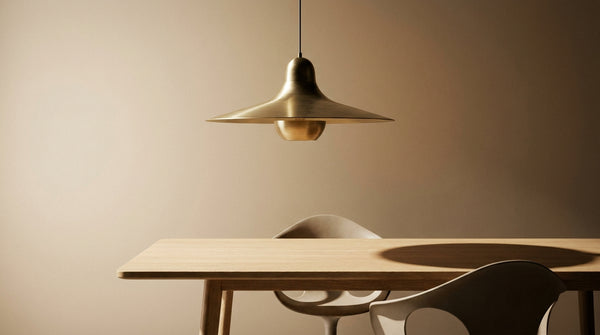
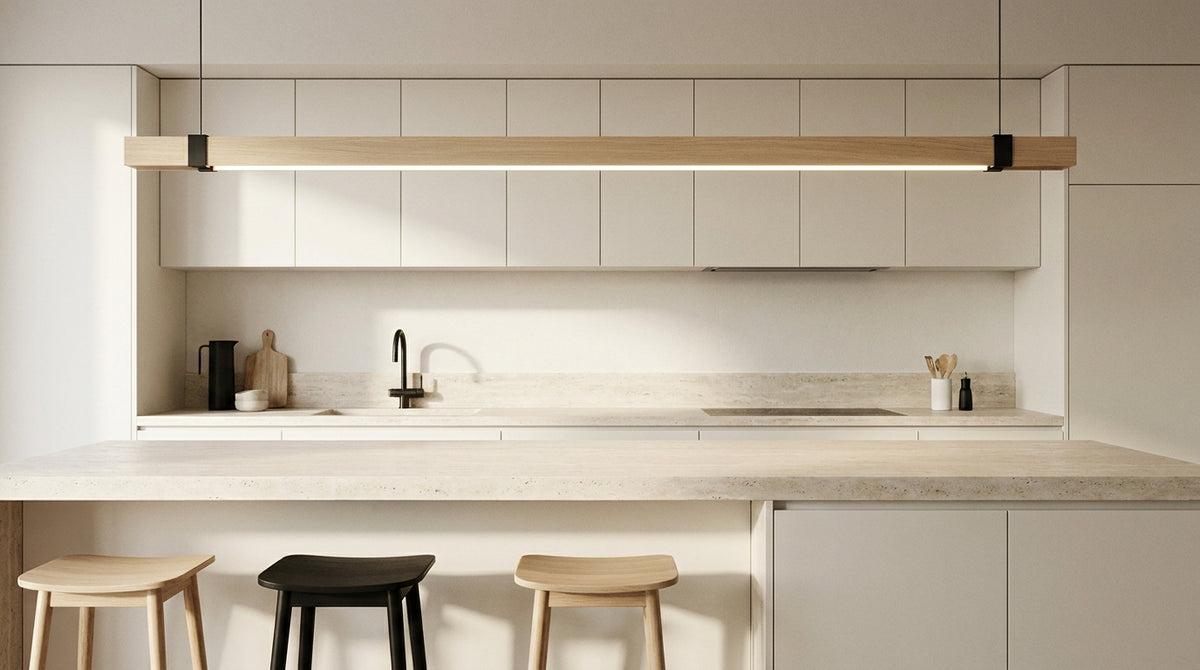
Many kitchens benefit from moving away from the profile. A pendant light above the island puts the light where you are chopping.
What should you put in place of a fluorescent light in a kitchen?
Three sources rather than one: a ceiling light that illuminates widely, a short light above the worktop, and a point above the island. The fluorescent light flooded the room with a single white sheet. A kitchen is composed zone by zone, with different levels.
What colour temperature above the worktop?
Aim for 3000 K to 4000 K: white enough to read a cut, warm enough not to look like a workshop. Below that, food turns grey; above that, the room cools down.
- 2700 K: warm light, best kept for the dining corner.
- 3000 K: warm white, comfortable above the table.
- 4000 K: neutral white, the one that renders colours accurately on the worktop.
- 5000 K and above: too cold for a home kitchen.
Power is then calculated zone by zone, and our article on how many lumens for a kitchen gives the benchmarks by surface area.
Pendant above an island: what height, how many light points?
Allow 75 to 85 cm between the bottom of the shade and the worktop, and two or three points rather than one large one. The shadow is spread out instead of falling in the centre. A kitchen pendant is adjusted in height once fitted.
On a wall, a slim light above the splashback relieves the eyes: an LED wall light is installed 40 cm from the worktop.
Above the table, a kitchen chandelier brings the light back down instead of flattening it against the ceiling.
In a survey of 250 references from our Kitchen Lighting collection as of 29 September 2026, 90% declare LED technology, 62% a suspended mounting and 98% an IP20 rating. The collection has 9,466 at that date, enough to choose the right mounting rather than a generic tube.
Kitchen light fixtures in place of a fluorescent light


To sort by mounting, temperature or cap, the kitchen lighting collection can be browsed by filter.
A selection commented on by buyers, verifiable with one click on our Google listing, complements the product pages.
The overall principles, number of points, distances and dimming, are covered in our article on lighting a kitchen well.
On the same subject
In stock · shipping costs shown at checkout · up to 30% off in your cart


Ready to turn inspiration into reality?
Tell us about your room, your style and your budget, and we will show you the pieces that truly suit your project.
Get guidance in 30 seconds →