Changing a ceiling fluorescent tube: repair or replace?
This article is also available in French: Changer néon plafonnier
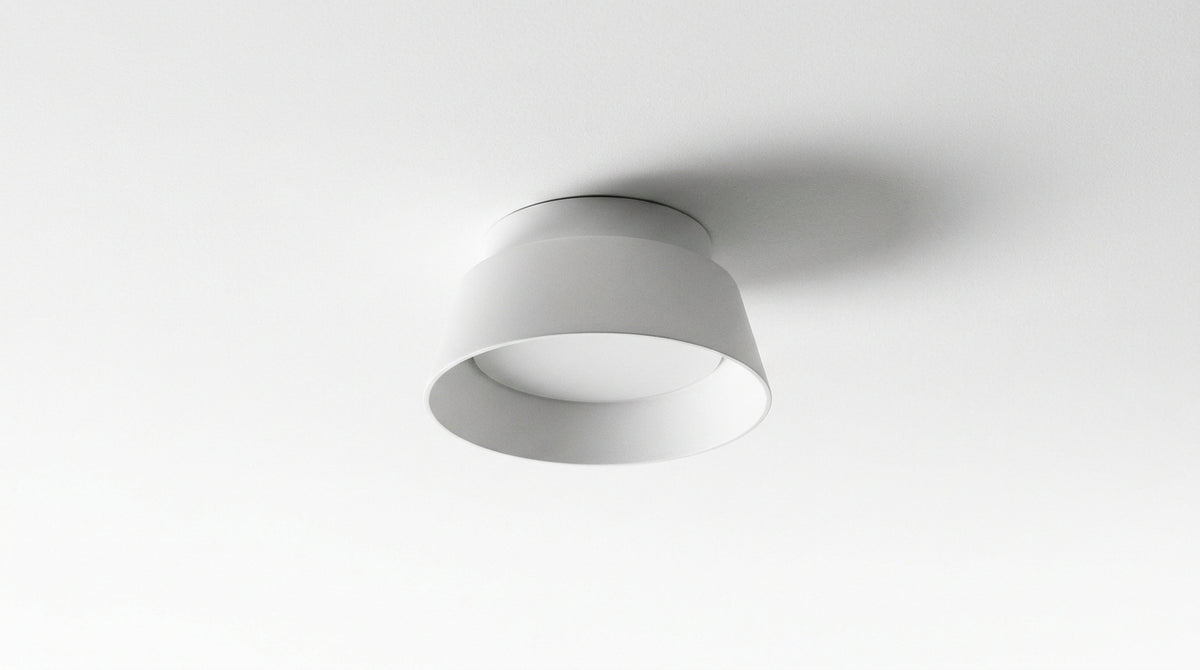
Switch off the power at the circuit breaker, unclip the diffuser, then give the tube a quarter turn to release it from its sockets. Slide the new tube in along the same axis, lock it with a quarter turn, refit the diffuser and switch the power back on. If the new tube still flickers, the fault lies elsewhere: starter or ballast.
How do you change a ceiling fluorescent tube?
Ten minutes and two movements, without a single screw: breaker off, diffuser unclipped, tube turned a quarter turn. It is the two bayonet sockets that hold the tube, not a clamp. Before buying, note the length, 60 or 120 cm, and the diameter, 16 or 26 mm.
A diffuser that cracks, a tube that hesitates for three seconds before lighting up: the repair comes down to a wear part. When the plastic has yellowed and the housing buzzes, repairing no longer solves much. Many then switch to a ceiling light fitted in the same spot, for a completely different look.
How do you remove a fluorescent tube diffuser?
Three fittings exist and the movement changes each time. The presence of screws on the sides indicates a screwed diffuser, their absence a clipped or sliding diffuser. Always work with both hands, one under the diffuser to hold it.
- Clipped: two fingers in the gap, ease it apart by 2 or 3 mm, the diffuser comes down on its own.
- Screwed: two side screws, often plastic, to unscrew without forcing.
- Sliding: push 10 mm towards one end, the diffuser leaves its runners.
When the diffuser refuses to come off, the movement is described in our guide for unclipping a ceiling light diffuser.
The quarter turn, and why the tube resists
A fluorescent tube is removed by rotation, never by pulling. Its pins are engaged in bayonet sockets: as long as they are in the notch, pulling breaks the glass and marks the socket.
- Grip: with both hands, 15 cm from each end.
- Direction: only one unlocks, the other stops; try gently one way then the other.
- If it resists: the sockets are oxidised, not the locking mechanism.
Should the starter be changed at the same time?
Yes, change the starter with the tube. This small cylindrical part wears out before the tube and strains a new tube within a few switch-ons. The quickest test remains swapping it, not measuring it. Our article on changing a fluorescent tube covers this replacement step by step.
How do you know if a fluorescent tube is dead?
The tube is dead when its ends are blackened, when it flickers without starting, or when it no longer lights up even though the starter is new. A tube that glows faintly at both ends then goes out signals the end of the tube's life, not the fixture's.
How do you test a fluorescent starter
The starter is tested by swapping it, never with a multimeter. Unclip it, fit a new one or one from a working batten, then switch back on. If the tube starts cleanly, the starter was the fault.
- Flickering before lighting: starter tired first.
- Black ends: tube at end of life, starter to change as well.
- Continuous buzzing: ageing magnetic ballast, replacing the fixture to consider.
Where is the starter on a fluorescent tube?
The starter is a small white or metal cylinder housed on the side of the batten, under the diffuser, less than 10 cm from a socket. It unclips with a quarter turn. If you see no cylinder, the fixture runs on an electronic ballast: there is no starter.
To identify the exact part before ordering, our help and after-sales page gathers replacement questions.
Why does an LED fluorescent tube not always work?
An LED tube is fitted to an old magnetic ballast fixture only if the starter is removed and the ballast bypassed. Fitted as is, it flickers, buzzes or stays off. Some tubes advertised as compatible accept the ballast in place: check the wording on the product sheet.
Your fluorescent tube is tired: which case are you in?
If your fixture buzzes, the diffuser has yellowed and changing the tube no longer makes a difference, write to us with a photo of your ceiling: we will tell you whether to repair or go for a new ceiling light. It is the shortest route to asking for advice before buying the wrong part.
Replacing a fluorescent tube with an LED: what really changes
An LED tube lights up as soon as the power is on, with no flickering or warm-up time, and uses about half as much as a fluorescent tube of the same length. The change is mainly in the colour temperature: 4000 K makes a workshop readable, 3000 K makes a kitchen liveable.
Which wattage and light colour to choose
| Criterion | Fluorescent tube | LED tube |
|---|---|---|
| Switch-on | Progressive, flickering at end of life | Immediate, no starter |
| Consumption | Reference point | About half at comparable light output |
| Colour | Fixed, often cold and greenish | Chosen: 2700 K, 3000 K, 4000 K, 6000 K |
| Ballast | Required | To be removed or bypassed on an old fitting |
- 2700 K: warm, for a living room or bedroom.
- 3000 K: warm white, the closest to a lived-in interior.
- 4000 K: neutral white, garage, workshop, worktop.
- 6000 K: cold, to be reserved for work areas.
The choice between these families comes down to a few hundred kelvins, and our article on white or yellow light explains how to decide room by room.
If you stay with a tube, the full wiring is detailed in our guide for replacing a fluorescent tube with an LED tube.
In a survey of 147 ceiling lights in our catalogue on 29 September 2026, 85% are surface-mounted and 53% feature LED technology. In the same survey, 99% are advertised with a 2-year warranty. The Google listing for our store lets you check who is answering you before ordering.
If the living room expects real light, a living room ceiling light opens up other possibilities than a batten.
For a softer look in the evening, a dimmable LED ceiling light can be adjusted to suit the time of day.
Designer ceiling lights, surface-mounted
 Barn 3-light ceiling light, black and gold, Premium
 Barn 3-light ceiling light, black, Premium
 Square bathroom ceiling light | Quadris
 Barn 3-light ceiling light, black
 Gearwood Grey Industrial Ceiling Light
 Barn ceiling light, black
See the whole selection: Ceiling Light, Ceiling Lamp and Ceiling Lighting
The LED fluorescent tube still flickers: the ballast
Removing the starter is not always enough: on an old fitting, the magnetic ballast stays powered and makes the LED tube flicker. It then needs to be bypassed or removed, with live and neutral going directly to the sockets. An electrician does it in a few minutes; on a yellowed housing, it is better to change the whole unit than to reopen tired wiring.
Bathroom fluorescent tubes, round tubes: the cases you should not tackle yourself
In a bathroom, the diffuser must be watertight, and a round tube is disconnected by its connector, not with a quarter turn. These are the two cases where a fixture gets damaged by treating it like a garage batten. In a survey of 147 ceiling lights in our catalogue on 29 September 2026, 97% are rated IP20 and 2% IP44.
How do you change a bathroom fluorescent tube?
Switch off the power, remove the diffuser screws, then take out the tube with a quarter turn. A bathroom diffuser is screwed on, rarely clipped, because of the gasket. Refit with a clean gasket: pinched, it lets moisture in and makes the fixture crackle.
- IP44 minimum around the washbasin and mirror.
- IP20: reserved for dry rooms, never above a bathtub.
- Gasket: to be wiped and repositioned each time it is removed.
- Screws: replaced if pitted, they no longer hold tight.
Before refitting the diffuser, identify live, neutral and earth: our guide for wiring a ceiling light covers the diagram.
How do you change a round fluorescent tube?
A circular tube is disconnected by its white plug, never by rotation. The ring is held to the housing by two or three plastic clips: release them one by one, then unplug. Provide firm support, the glass remains fragile.
When the housing has yellowed, a current round ceiling light fits on the same fixing point if the centre distance matches.
An installer who needs to decide with their client will find the ranges and styles in our trade section. And if the room calls for another light, our selection of designer lighting covers the living room, kitchen and hallway.
On the same subject
In stock · shipping costs shown at checkout · up to 30% off in your cart


Ready to turn inspiration into reality?
Tell us about your room, your style and your budget, and we will show you the pieces that truly suit your project.
Get guidance in 30 seconds →