Replacing a fluorescent tube with an integrated ballast: the guide
This article is also available in French: Changer tube néon ballast intégré
Switch off the power at the breaker, remove the tube and then the cover, and locate the ballast before touching any wires. On a batten with an integrated ballast, removal always follows this order. Only then do you decide whether to replace just the tube or the whole fixture.
What is the ballast of a fluorescent tube?
The ballast is the block that regulates the current sent to the fluorescent tube. It limits the current, strikes the arc and stops the tube from running away. On a batten with an integrated ballast, it sits inside the metal profile, invisible until the cover has been removed.
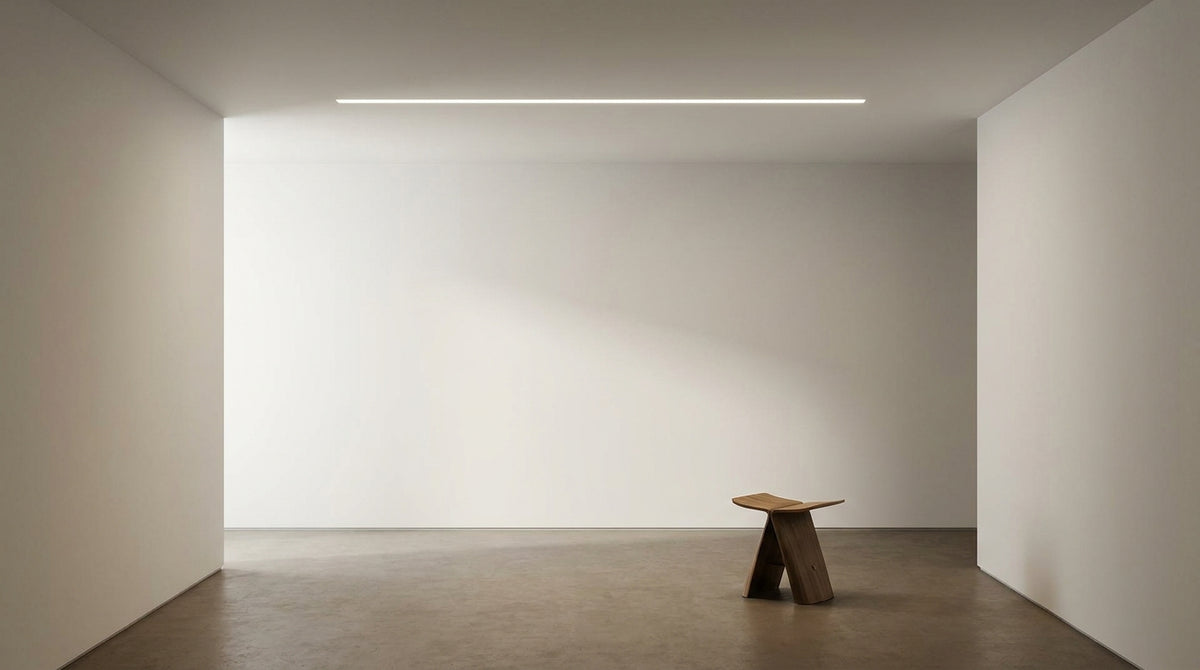
A badly placed fluorescent tube turns a hallway into a hospital corridor. It is a room problem before it is a component problem, and our hallway, corridor and staircase lighting project starts from exactly that point.
Magnetic or electronic ballast: what changes when you remove it
The first is heavy, hot and noisy. The second is flat, silent and starts without flicker. When removing it, the difference is felt in the hand and read in the number of wires.
- Magnetic: bulky casing, warm to the touch, slight buzzing
- Electronic: slim profile, immediate start, more sensitive to wiring quality
- In both cases: the block is removed, it is not repaired
How do you recognise an integrated ballast in a batten?
With the cover off, it appears as a box screwed to the bottom of the profile, next to the lampholders. If it sits in the body of the batten rather than in a separate box fixed to the ceiling, it is integrated. On a recent batten, the question of the electronic ballast and the tubes it accepts comes up before any dismantling.
The tube takes two minutes to change. The light it gives does not. When the repair no longer holds, you turn to a new fixture, and the choice is made on the light it gives, not on the socket.
How can I remove the ballast from a fluorescent tube to replace it with an LED tube?
Switch off the power at the breaker, check that there is no voltage, then remove the cover and the tube. Locate the ballast and its two incoming wires. Then there are two methods: bypass the ballast, or remove it and feed the lampholders directly at 230 V.
Switch off and check before touching the wires
A breaker flipped down does not guarantee a circuit is dead. The tester gives the answer in seconds, between live and neutral and then between live and earth. It is the one step you cannot undo.
Remove the cover, bypass or remove the ballast
The cover unclips by pinching it towards the centre or pivots on its tabs, depending on the model. Once the ballast is visible, bypass it by connecting the incoming wire to the outgoing wire on the lampholder side. The job assumes you can identify the wires without making a mistake, which our article on changing a fluorescent tube sets out in detail.
The starter, to remove or to disable
On older battens, it stays screwed in near a lampholder. It becomes useless with an LED tube, and its presence causes flicker or a failure to light. The procedure for changing a fluorescent starter takes a few minutes, without forcing its holder.
The final connection is made at 230 V on the lampholders, with an earth wire if the batten is metal. The logic for wiring a light fixture applies here in exactly the same way.
The consumer unit is far away, the batten is recessed, the markings have worn off: in these cases, it is better to have the wiring confirmed. You can describe your installation in two lines before ordering anything.
Is it possible to replace a fluorescent tube with LED tubes?
Yes, on one condition. The LED tube must be compatible with what remains in the batten: either it still runs on the original ballast, or it is direct-wired and the ballast must be removed from the circuit. A direct-wired tube fitted with a ballast still in place will not light.
Ballast-compatible LED tube or direct-wired LED tube
The choice depends on the age of the batten, and our article on replacing a fluorescent tube with an LED tube covers each configuration.
| Criterion | Ballast-compatible | Direct-wired |
|---|---|---|
| Ballast | Kept in place | Bypassed or removed |
| Starter | Removed | Removed |
| Ideal when | Recent batten, healthy ballast | Old magnetic ballast |
| Main risk | Tired ballast that wears out the tube | Mistake in identifying the wires |
Why a new LED tube still flickers
- Starter still in place: it cuts the circuit at the wrong moment
- Ballast tired or incompatible: the output voltage does not keep up
- Power fed on one side only on a tube that expects both
A new tube that flickers is never a faulty tube. It is a wiring question. The full picture is in our article does an LED tube need a starter.
Which room is the fluorescent tube you want to replace in?
How do I install an LED tube on an old batten?
Reuse the batten if its profile is sound, its lampholders intact and its earth wire present. The LED tube fits into the existing lampholders once the ballast has been neutralised, without drilling a new hole in the ceiling. If the metal is pitted or the lampholders brittle, the whole thing is replaced.
Reusing the original batten
Three things decide it: the condition of the metal, the length of cable available and the position of the fixings. A 1.20 m batten comes down by undoing two or three screws, on your own, with a screwdriver and a pair of gloves. The method for removing a fluorescent tube from the ceiling works for all lengths.
When the whole fixture is the best answer
Three signals never lie, and in these cases the LED ceiling light reuses the existing hole without any plastering.
- Rusty profile or drilled through: paint does not fix metal
- Cracked lampholders: the tube no longer sits straight on axis
- Wrong footprint: the line lights the wall, never the worktop
The wiring reuses the three wires of the lighting point. The ceiling light is then chosen on light distribution, colour temperature and size.
If you are still unsure whether to repair or replace, the business's Google listing is public, and the reviews of customers who have been there before can be checked in one click.
LED battens and ceiling lights to replace a fluorescent tube


Replacing a fluorescent tube with an LED tube: what does the room gain?
A 4000 K workshop fluorescent tube gives a correct, cold light. Moving to 3000 K or 2700 K changes the room: colours come back, faces stop turning green, and the light is something you look at rather than put up with. It is the most visible gain, well ahead of consumption.
From 4000 K workshop light to a light you look at
In a kitchen, a hallway or a bathroom, the colour temperature decides the rest. The difference between two tubes is immediately visible on the wall.
- 2700 K: warm white, for a living room or bedroom
- 3000 K: soft white, the most versatile in a hallway
- 4000 K: neutral white, still very close to a workshop
- 6500 K: cool white, best kept for the garage
When the fluorescent tube no longer belongs
It stains the paint, it hums, it lights the corners instead of the room. If you are still looking for how to change a kitchen fluorescent tube, the real question is what the room needs to light.
Linear light is not a workshop relic. In a survey of 66 listings in our Tube wall light family on 5 October 2026, the Tube shape is declared on 98% of them. The Tube wall light collection had 128 references on that same date.
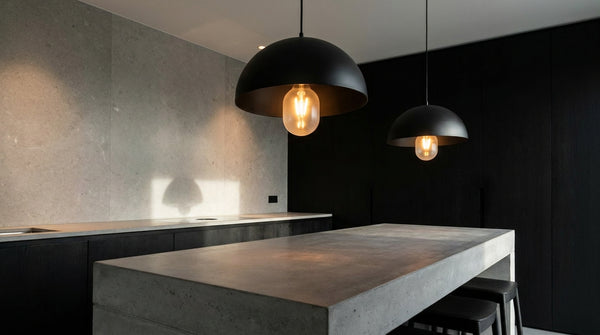
In an open kitchen, a pendant light above the island brings the light down to where you chop, instead of the line on the ceiling.
For a smaller room, a well-placed kitchen light is often enough where two battens struggled.
And to keep the line of a tube without its coldness, a tubular wall lamp plays the same geometry at hand height.
In stock · shipping costs shown at checkout · up to 30% off in your cart


Ready to turn inspiration into reality?
Tell us about your room, your style and your budget, and we will show you the pieces that truly suit your project.
Get guidance in 30 seconds →