Spot spacing on the ceiling: the room-by-room method
This article is also available in French: Distance entre les spots au plafond
Spot spacing on the ceiling: the room-by-room method
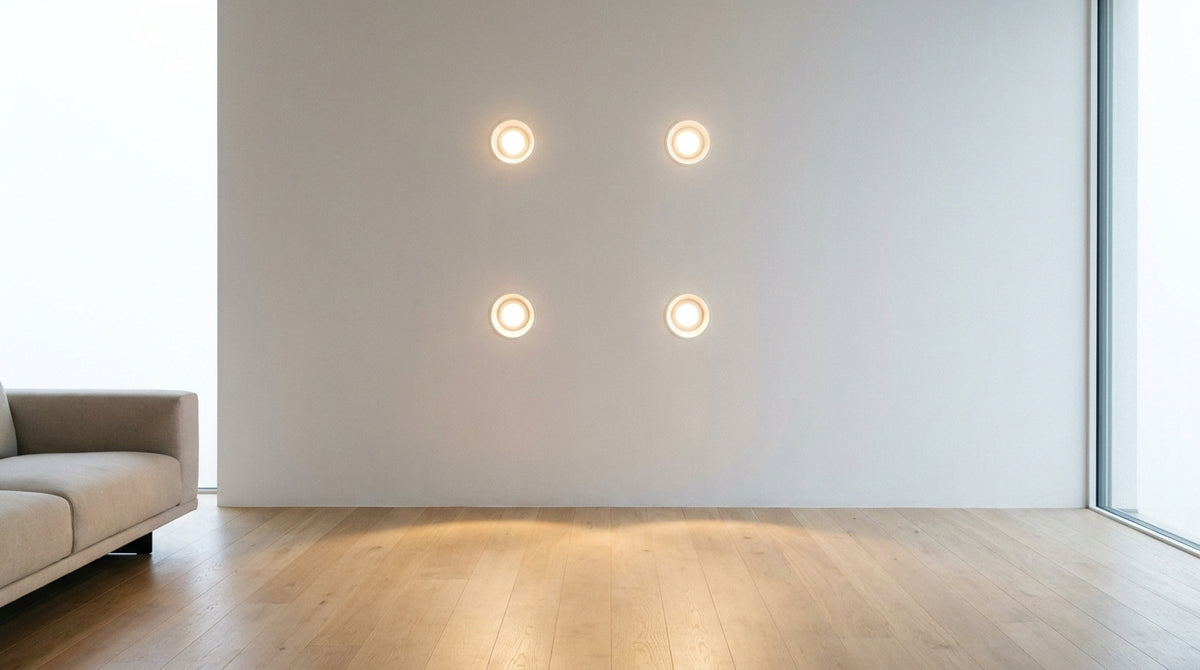
Allow 1.50 to 2 m between two spots under a 2.50 m ceiling, and 0.60 to 0.80 m back from the wall. Snap parallel chalk lines along the walls, then work from the wall toward the centre. The grid stays even, with no halo stuck to the wall.
What spacing between two ceiling spots?
Allow 1.50 to 2 m between two spots for a 2.50 m ceiling. The gap mainly follows the beam angle: at equal power, a wide spot covers almost twice as much floor as a narrow one. Half the ceiling height gives you the baseline spacing.
Why does the spacing change with the beam angle?
A 60° cone washes a much wider disc than a 24° one. The wider the beam, the more you space the spots, otherwise the pools overlap and the light flattens out.
| Beam angle | Recommended spacing | Use |
|---|---|---|
| 24° | 1 m to 1.20 m | worktop, feature object |
| 36° | 1.20 m to 1.50 m | circulation, general lighting |
| 60° | 1.80 m to 2 m | high ceiling, diffuse ambience |
On a living room and living space renovation project, these three angles serve as a starting point: you measure, you choose the angle, then you draw the lines.
The base also matters. Across a survey of 249 references in our catalogue as of 30 September 2026, 10% of the listings state a GU10 base, 10% an E14 and 23% an E27. A well-chosen GU10 LED bulb tightens the beam without touching the grid.
A tiltable recessed spot is adjusted after installation: the angle can be corrected, the position cannot.
Start from the wall or the centre?
Always start from the wall. Place the first mark 0.60 to 0.80 m from the wall, repeat the gap toward the centre, then check that the last row does not end up flush against the opposite wall. A layout started from the centre ends with a line that is too close, the one that casts shadows.
- 0.60 m from the wall: the minimum setback without a marked halo.
- 1.50 m between spots: the base grid under 2.50 m.
- The axis of the sofa or the bed: the area to leave clear.
How do you lay out ceiling spots, room by room?
One grid per use, never a single grid for everything. Living room and bedroom read as a light grid, the kitchen as a line above the worktop, the hallway as a row along the axis, the bathroom only outside the shower zone.
What ceiling spot spacing in a living room?
Flexible grid: 1.50 to 2 m between spots and 0.60 to 0.80 m from the wall. For a 20 m² living room, four well-placed points are better than six crowded ones. No spot directly on the sofa axis, or it will dazzle whoever is sitting there.
The layout of recessed spots in the living room follows use before symmetry: reading, coffee table, circulation.
What ceiling spot spacing in a kitchen?
In a line, above the worktop, spaced 0.80 to 1 m apart. The first one sits about 0.60 m from the wall: it lights the worktop, not the back of the person cooking. A grid across the whole room multiplies the points without lighting anything more.
On a kitchen and dining room renovation, the line often stops directly above the worktop, with the table lit separately.
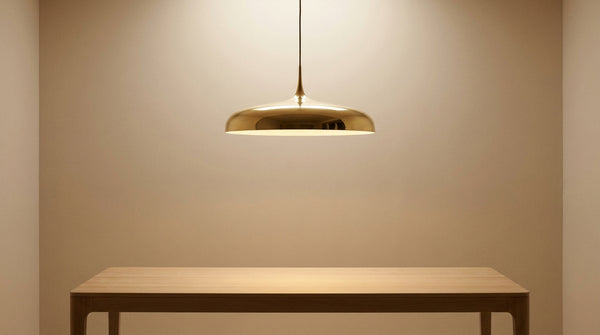
Above the table, a suspended kitchen light replaces two badly placed spots.
What ceiling spot spacing in a hallway?
In a single row, along the axis, spaced 1.20 to 1.50 m apart. A 1.20 m wide hallway only takes one row: two side-by-side rows stain the walls. Under one metre wide, one or two hallway wall lights do better than a line of spots.
What spacing in a bedroom and a bathroom?
Bedroom: 1.50 to 2 m between spots and 0.60 m minimum from the headboard. Bathroom: 1.20 to 1.50 m, only outside the shower zone, with a minimum IP44.
In the survey of 249 references as of 30 September 2026, 80% of the listings that state an ingress protection rating show IP20. A standard ceiling model therefore has no place above a bathtub, where a bathroom spot is designed for humidity.
In a bedroom, the measurement is read from the bed. A badly positioned bedroom light shines in the face of whoever is reading.
How do you calculate the number of ceiling spots?
Multiply the surface area by 100 to 150 lumens per m², then divide by the lumens of the spot. A 12 m² bedroom needs 1,200 to 1,800 lm, that is four 400 lm spots. Round to the grid, not to the exact figure.
- Surface area in m², measured with furniture in place.
- Need in lumens, depending on the activity in the room.
- Division by the output of one spot, then adjustment to the grid.
How many spots in a 12 m² bedroom?
Four 400 lm spots on a 1.50 m grid with a 0.60 m setback, or three 600 lm spots if wall lights take over at the bedside. The number of spots per m² remains the basis, to be adjusted according to the wall colour.
The calculation of the required amount of lighting also takes into account the ceiling height and the nature of the activities.
Do you need layout software?
Not for a rectangular room. A scale plan, a chalk line and the grid are enough. Software helps with a cathedral ceiling, an L-shaped false ceiling or two different heights.
If you prefer to have the layout checked before drilling, the team reviews your plan room by room: write to us to have your layout checked.
Recessed spots to install once the measurements are set


What distance between the spots and the wall?
0.60 to 0.80 m between the wall and the first row for even light. Go down to 0.30 m for a deliberate wall-wash effect. Below 0.40 m with no intent, the cone marks a bright band at the top of the wall.
Why avoid a setback under 50 cm?
Because the beam sweeps the wall instead of the floor: you get a bright band halfway up and a dull zone near the skirting boards. The distance between a spot and the wall is therefore set by what you want to see lit.
How do you get a wall-wash effect?
Bring the row in to 0.25 to 0.30 m and aim at the wall with a tiltable spot. The gap between two spots then drops to 0.80 m to avoid a sawtooth pattern. Above a worktop, the useful measurement remains 0.60 m between the wall and the spot.
Which room do you fit your spots in first?
Which mistakes cost the most?
Three come up again and again: the uniform grid in every room, the row too close to the wall and the ingress protection forgotten in a damp room. They cost a ceiling patch-up and unpleasant light.
- Identical grid everywhere, when a hallway is laid out in a row and a kitchen in a line.
- Setback too short, which turns the wall into a bright strip.
- IP20 in a damp zone, in a room where humidity remains present.
An LED spot is chosen for a specific use, not on a catalogue average.
Mixing 2700 K and 4000 K in the same room ruins the ambience more surely than a 20 cm discrepancy. Keep a single temperature per room, and reserve neutral white for worktops.
To read installation feedback before you start, the Designix Google listing remains available.
On the same subject
In stock · shipping costs shown at checkout · up to 30% off in your cart


Ready to turn inspiration into reality?
Tell us about your room, your style and your budget, and we will show you the pieces that truly suit your project.
Get guidance in 30 seconds →