How to install ceiling spotlights: the room-by-room method
This article is also available in French: Comment mettre des spots au plafond
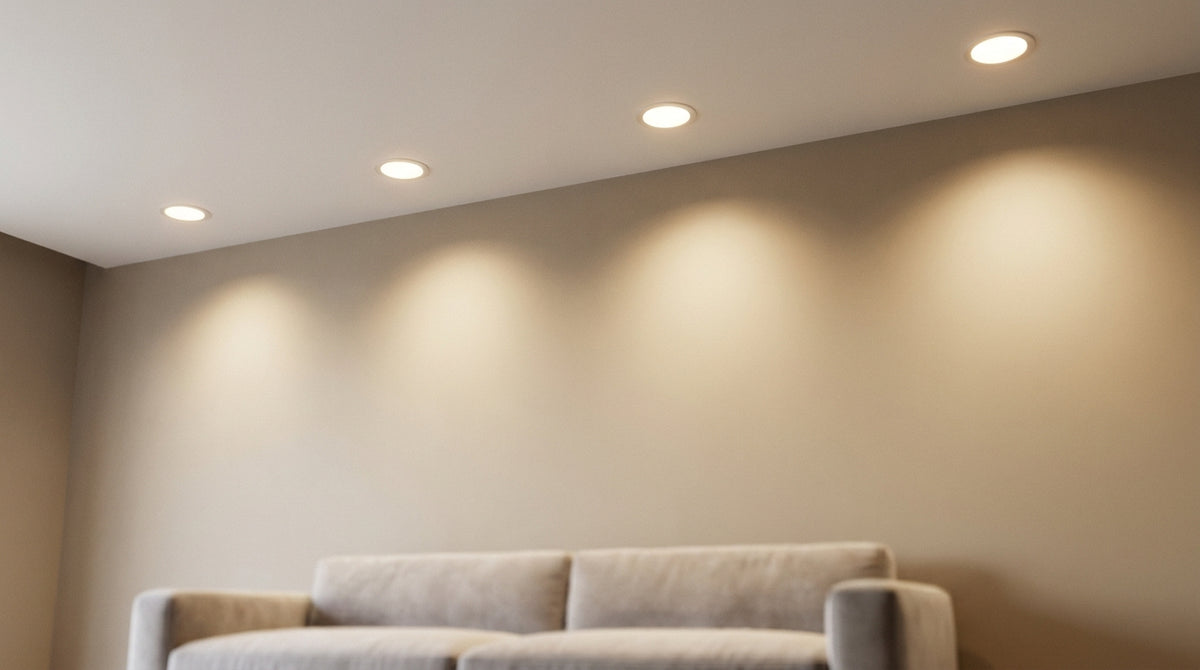
Mark out the use zones on the floor first: entry, worktop, reading corner. Then transfer these markers to the ceiling before drilling. Allow 80 to 120 cm between two spotlights and 40 to 60 cm from the wall for an even result. The drill comes last.
How do you position ceiling spotlights correctly?
You place the uses first, not the spotlights: every worktop, every walkway and every reading corner gets its own light axis. The first spotlight sits 40 or 60 cm from the wall, and the following ones line up on that grid. Circulation areas stay deliberately softer.
The three zones to mark out before drilling
The layout follows the life of the room. Renovating the room before adding the lighting avoids drilling a layout that the furniture will make wrong: a moved sofa, an added bookcase, and two spotlights end up in the wrong place.
Size matters as much as position. A recessed spotlight with a 7.5 cm cut-out cannot be corrected once the blade has gone in.
Depending on the base chosen, GU10 or E27, the drilling diameter of the spotlight varies by almost double. Check it on the product sheet before reaching for the hole saw.
- Use zone: worktop, table, desk. The beam lights a surface, not a volume.
- Passage zone: entry, hallway, around the sofa. Little light, but no dark gaps.
- Accent zone: wall, painting, shelf. A tight, adjustable beam is enough.
What distance between the wall edge and the first spotlight?
Allow half the planned gap between two spotlights, so 40 to 60 cm in a living room. Too close to the wall, the beam draws a visible cone on the paint. Too far, the wall stays dark and the room looks lower than it is.
This measurement is checked on the floor, directly below the future point. With a tape measure and a pencil mark, you know before drilling whether fitting a spotlight in the ceiling at that spot works visually.
What distance between two ceiling spotlights?
Allow half the ceiling height: about 1.20 m under 2.50 m, 90 cm under 2.20 m. The first spotlight is then set back from the wall by half that gap. A regular spacing matters more than a perfect one, because it is the grid drawn on the floor that the eye remembers.
Spacing according to ceiling height
| Ceiling height | Gap between two spotlights | Setback from the wall |
|---|---|---|
| 2.20 m | 80 to 90 cm | 40 to 45 cm |
| 2.50 m | 100 to 120 cm | 50 to 60 cm |
| 2.80 m and above | 130 to 150 cm | 65 to 75 cm |
These markers apply to a flat ceiling with no beams. They tighten by about 20% in a hallway, where the width guides the beam.
The low-ceiling trap
Below 2.40 m, you do not lower the power, you reduce the diameter and the number. Three reflexes are enough:
- Mini spotlights of 5 to 7 cm rather than 9 cm modules, they weigh less on the ceiling.
- Wide beam of 60° rather than 24°, which puts a white dot on the floor.
- Reduced gap to 80 cm, for an even wash without dark zones.
The result is read on the floor, never on the ceiling. Our selection of mini spotlights is sorted by cut-out diameter and finish.
Which ceiling do you have?
How do you choose how many spotlights to fit on the ceiling?
Start from lumens, not from the number. Allow 200 lm per m² for a living room, 300 lm per m² for a kitchen or an office. A 7 W GU10 spotlight delivers about 450 lm. For a 20 m² living room, six spotlights are enough; the same surface as an office needs eight to ten.
The lumens method rather than the number method
Multiply the surface by the requirement, then divide by the output of one spotlight. A 25 m² living room therefore needs nearly 5,000 lm, or eleven 450 lm spotlights. The details of the calculation and the special cases are covered in our article on how many ceiling spotlights.
The base then decides the result. GU10 LED bulbs at 2700 K give a warm, directional light, ideal under an adjustable beam.
The rooms where you need to densify
Three rooms need a point every 80 cm rather than every 120 cm:
- Kitchen: above the worktop, never behind the person preparing food.
- Bathroom: two points either side of the mirror, in IP44.
- Hallway: one point every 1.20 m, offset to avoid the tunnel effect.
In a living room, you only densify the reading zones. Our advice for recessed spotlights in the living room details this balance.
Spotlights and ceiling lights for your ceiling
 Barn 3-light ceiling light, black and gold, Premium
 Barn 3-light ceiling light, black, Premium
 Square bathroom ceiling light | Quadris
 Barn 3-light ceiling light, black
 Gearwood Industrial Grey Ceiling Light
 Barn black ceiling light
See the whole selection: Ceiling Light, Ceiling Lamp and Ceiling Lighting
If you prefer to confirm the layout and the bases before drilling, you can ask the Designix workshop: send your plan and measurements, and the answer comes back with a diagram.
How do you install and wire ceiling spotlights?
A false ceiling is prepared before it is closed: conduits, junction boxes and cable slack are fitted with the plasterboard still open. For the connection, live, neutral and earth are identified before tightening the first connector. The circuit is protected upstream, never at the spotlight.
Running the cables before closing the plasterboard
Allow about twenty centimetres of free cable at each location, never taut. A length of conduit and a box accessible through a hatch avoid reopening everything for a loose connector. The full method is in our guide to installing ceiling spotlights.
Concrete, glass wool, old ceiling: three different cases
- Concrete slab: no void, so no recessing without a false ceiling. You go surface-mounted or in trunking.
- Glass wool: an LED spotlight gives off little heat, but keep 5 cm of clearance, and choose the long version of the fixing clip.
- Old ceiling: plaster on lath, the hole saw bites badly and the hole crumbles. Locate the joists before marking out.
Series or parallel: what it changes
In parallel, each spotlight receives 230 V and if one fails, the others stay on. This is the usual wiring for a living room. In series, the voltage is shared and a single blown bulb turns off the line: this is reserved for strips and low-voltage modules, never for a 220 V spotlight line.
Live, neutral, earth: identify before connecting
Identification is done with a multimeter or a voltage tester, with the breaker off. Three wires, three colours, and a frequent doubt about earth in an old home. The step-by-step is detailed in our article on wiring a spotlight.
What alternative if you do not want to drill?
A surface-mounted ceiling light screws onto the existing box and replaces the light point without touching the slab. Out of a survey of 147 references in our catalogue as of 29 September 2026, 85% are surface-mounted and 1% recessed, with a 2-year warranty stated on 99% of the survey.
The surface-mounted ceiling light
Our ceiling light collection has 4,929 references as of 29 September 2026, from the discreet module to the large decorative format. A LED ceiling light of 2,700 lm replaces six 450 lm spotlights, with no hole saw and no dust.
To dim the light in the evening, dimmable LED ceiling lights are controlled by a wall switch or a remote control. On the same survey of 147 references, 12% state dimming: this line is checked on the product sheet.
Pendant and wall light as support
A central point is not always enough. Three supports change the rhythm of a room without drilling the slab:
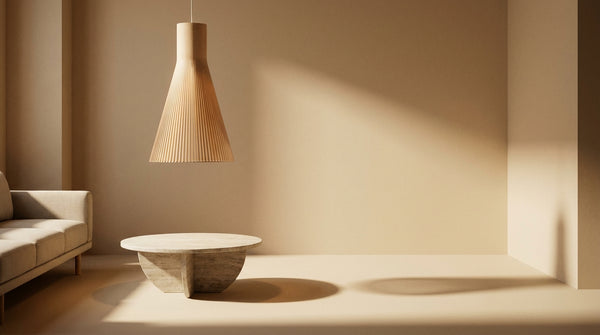
- Pendant above the table: it brings the light down to face height. Pendant lights are sorted by diameter and cable length.
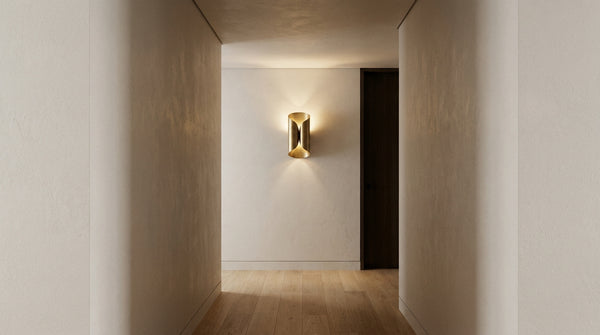
- Wall light in a hallway: it lights the wall and visually enlarges the space.
- LED strip in a ceiling groove: a continuous line, with no hot spot.
The wall light selection is chosen by beam width and finish: brass, black or glass.
The result at our customers' homes can be checked in one click: the Designix Google listing gathers the published reviews, with no intermediary.
In stock · shipping costs shown at checkout · up to 30% off in your cart


Ready to turn inspiration into reality?
Tell us about your room, your style and your budget, and we will show you the pieces that truly suit your project.
Get guidance in 30 seconds →