How to install an LED strip: the method that lasts
This article is also available in French: Comment installer un ruban led
How do you install an LED strip, step by step?
Measure the length, note the direction of the adhesive, degrease the surface with alcohol, cut on the cut marks and test the strip before sticking it down. A strip on its own lights a room, it does not dress it.
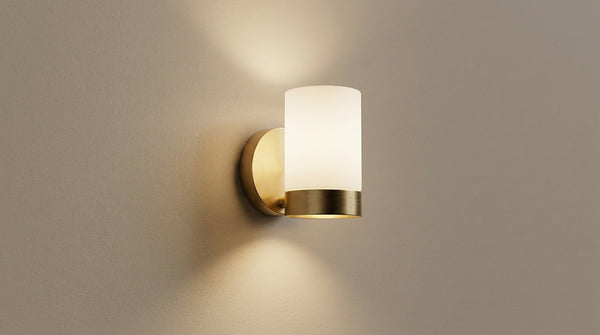
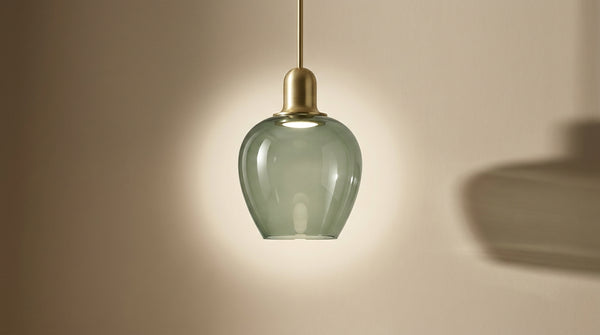
Installation comes down to four steps. It is almost always the third that separates a clean line from a strip hanging loose after a few weeks. Once the line is in place, all that remains is to choose the high point that sets the tone: a designer LED light fills that role better than a second strip.
How do you measure and mark out before sticking?
No wall is straight, no ceiling is flat. Take the length at three points, then draw a light guide line before removing the adhesive backing.
- Tape measure, measure at the start, middle and end of the line
- Pencil mark, erasable, never a permanent marker
- Connector direction, noted before peeling anything off
- Power supply position, within reach of a socket or a switch
How do you stick a strip without bubbles or peeling?
A greasy or dusty surface gives way within days. Clean with isopropyl alcohol, let it dry, then press along the whole length.
- Isopropyl alcohol rather than a household cleaner, which leaves a film
- Chalky paint to avoid: the adhesive will not grip it
- Aluminium profile if the surface is uneven or near a heat source
- Continuous pressure, not just at the ends
How do you cut and connect without mistakes?
Cut only on the printed marks: between two marks, the line is dead. A strip that is too long can be cut again after installation, provided you land exactly on a mark, as detailed in cutting an LED strip that is too long.
If you are still hesitating between two looks, the Designix team answers your questions before you drill anything.
How do you install an LED strip on the ceiling without making it tacky?
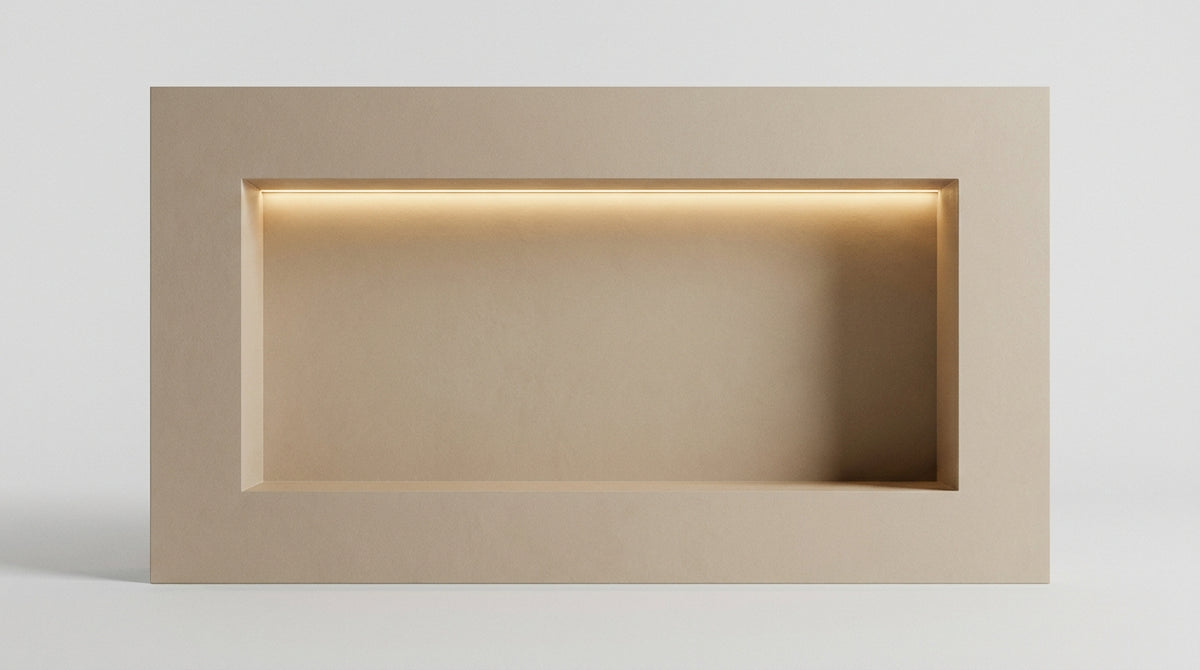
Never flat against the slab: each diode shows and the ceiling becomes a screen. Set the line into a niche or a cornice aimed at the surface to be lit. The light bounces, the source disappears.
Niche or cornice: where should the line go?
The principle fits in one sentence: the strip must never be visible from the room.
- Recessed niche, strip at the back, aimed at the wall
- Perimeter cornice, continuous line that lifts the ceiling away from the wall
- Illuminated skirting, lower down, for a floor halo
- Panelling or batten, if the structure has no recess
Why does a strip laid flat give the LED away?
Seen from three metres, a flat strip shows dozens of separate dots instead of a line. The viewing angle is everything: as soon as the eye drops below the source, the line effect returns. LED strip on the ceiling details how to adjust that angle.
The same logic applies to the decorative lines in a teenager's bedroom: well framed, a designer LED neon without the tackiness structures the room instead of cluttering it.
When the room calls for a real high point rather than a line of light, an LED ceiling light fills the role unambiguously.
How do you install an LED strip in a bedroom?
Aim for 2700 K or 3000 K and set the line back from the axis of the bed. Under the headboard, at the top of a wall, along a skirting: the light should graze the room, never fall straight into your eyes.
Headboard or skirting: which position should you choose?
A strip under the headboard draws a frame and works as a night light. A skirting lights the floor and guides without waking anyone.
- Headboard, U-shaped strip, aimed at the wall
- High skirting, for a continuous floor halo
- Set back under the bed base, to cut the glare
- Two separate lines if the bedroom is long
In both cases, the strip complements a bedside lamp without replacing it. A wall light for the adult bedroom on each side of the bed gives directed light that a strip cannot produce.
Which colour temperature when you wake up?
4000 K on waking strains the eye before coffee. Stay at 2700 K to 3000 K, and adjust the intensity with a dimmer rather than a simple switch.
Shade choices change with walls and materials: advice and inspiration gathers the combinations that work room by room.
On a light wall, a warm strip softens the room and forgives unevenness; creating a warm atmosphere with light details that effect.
Designer lights to dress the room around your LED strip


Where are you going to install your LED strip?
How do you connect an LED strip without a socket and to a switch?
Insert a power supply unit that converts the home's 230 V into 12 V or 24 V DC, then control the line with a smart plug or a wall switch. A strip is never connected directly to the mains.
Which power supply unit should you choose?
Add up the total power of the line and keep a margin: an undersized unit heats up and cuts out.
- 12 V transformer, for short lengths
- 24 V power supply, which limits the drop in brightness at the end of the line
- Waterproof unit, if the connection stays outside or under a damp cabinet
- Smart plug, when running a wire is not an option
Connecting an LED transformer details the power calculation and the cable cross-section to allow for.
Which way round do you connect it, and to which switch?
The positive and negative cannot be guessed: they are marked on the strip as well as on the unit. Reversed, the line simply stays off, without damage in most cases.
On a wall switch, a standard two-way circuit cuts the mains upstream of the unit, which cleanly switches off the whole line. For a length that has been cut and then extended, connecting an LED strip without a connector avoids loose contacts.
How do you install an LED strip outdoors or under a kitchen cabinet?
Outside, aim for IP44 under a canopy and IP65 if rain reaches the line. Under a kitchen cabinet, move the strip towards the back of the unit, set back from the worktop: it lights the surface without dazzling whoever is cooking.
Which IP rating should you choose for an outdoor strip?
| Rating | Where to install it | Good to know |
|---|---|---|
| IP20 | Fully sheltered, indoors | Withstands neither humidity nor condensation |
| IP44 | Under a canopy, under eaves | Resists splashes, not immersion |
| IP65 | Terrace, pergola, exposed balcony | Water jets tolerated, connections must be protected too |
The connection matters as much as the strip, and it is often the part that fails. On a terrace, a LED string light draws a more readable line than a cheap strip exposed to the weather.
Our LED lighting collection has 18724 references as of 29 September 2026; on a sample of 250 of them on the same date, 94% are IP20 against 4% IP65. An outdoor light is therefore chosen explicitly, it is not inferred from the room.
How do you light a worktop without glare?
The line is set back, never in the line of sight.
- Set back towards the rear of the unit, so the light falls on the worktop
- Diffuser or profile, which smooths out the dot of each diode
- Continuous line over the whole length, with no break above the sink
- 2700 K to 3000 K, more flattering on a wooden or stone worktop
LED strip under a kitchen cabinet covers the heights and the fixing pitfalls.
Above the island, a hanging kitchen light completes the low line and lights the worktop from above.
In stock · shipping costs shown at checkout · up to 30% off in your cart


Ready to turn inspiration into reality?
Tell us about your room, your style and your budget, and we will show you the pieces that truly suit your project.
Get guidance in 30 seconds →