Wiring a 12 V LED to 220 V: the mistake-free guide
This article is also available in French: Brancher led 12v sur 220v

A 12 V module is never wired directly to 220 V. You need a 220/12 V transformer in between, rated to cover the total power of the modules to be supplied. Add up the watts of the strip or spots, keep a margin, connect the primary to the mains and the secondary to the low voltage side.
Is it possible to wire a 12 V LED to 220 V?
Yes, provided you go through a 220/12 V transformer. The module stays supplied at 12 V DC, the mains voltage is stepped down and then rectified. Wired directly to a 230 V socket, a 12 V module is destroyed instantly, and no warranty claim will hold.
This is the principle behind every off-the-shelf light fitting: an LED light fitting sold ready to install already contains its 230 V to 12 V driver. The Luminaire Led collection lists 18,269 references as of 28 September 2026, a figure taken from the shop counter.
Why a 12 V module burns out on 220 V
The applied voltage is more than eighteen times what the junction can withstand. The destruction is immediate, and nothing really warns you.
- Voltage multiplied: the ratio between 230 V and 12 V is around 19, the chip cannot take it
- Short circuit: the junction melts, the track opens, the strip goes dark
- No driver: without stepping down and rectifying, no stable current arrives
- Warranty void: a setup outside the recommendations is never covered
How an LED works, and why voltage matters
An LED is a diode. It lights in one direction only and at a given voltage. Below that, nothing happens; above it, the junction heats up and then breaks. The full mechanism is described in our article on how an LED works.
A 12 V module therefore expects stabilised DC, not 230 V AC. A 24 V setup carries half the current in the strip, which limits heating on long runs.
To place the connection within the wider installation, our guide to wiring an LED to 220 V covers what happens at the consumer unit.
How do you wire a 12 V LED to 220 V?
Switch off the power at the breaker, identify live and neutral, size the transformer to the total power, then connect the primary at 230 V and the secondary at 12 V. Seven steps are enough, all carried out with the power off and a multimeter in hand.
If you are starting from a new installation, our guide to wiring an LED at home covers the basics before you move on to low voltage.
- Switch off the breaker and check there is no voltage with a multimeter before any work.
- Identify the conductors: live, neutral and earth. Only live and neutral feed the transformer.
- Add up the power: length of strip or number of spots, in watts, then add at least 20%.
- Choose the unit whose rated power exceeds that total, with a 12 V DC output.
- Connect the primary to the mains, on the terminals marked L and N.
- Connect the secondary to the strip or spot, respecting plus and minus polarity.
- Check the output with a multimeter before powering back up: 12 V DC expected.
Wiring diagram for a 12 V LED on 220 V
The diagram fits on one line: breaker, transformer, strip or spot. Nothing else goes between them.
Which transformer for a 12 V LED?
Take a transformer whose rated power exceeds the total watts to be supplied by at least 20%, with a 12 V DC output. Five metres of strip at 8 W per metre therefore need 48 W, so a 60 W unit.
- Power: the total plus 20%, never the other way round
- Output: 12 V DC, not to be confused with an AC halogen transformer
- Location: ventilated area, reachable for replacement
Replacing old lighting often changes the power supply as much as the fitting: our guide to replacing a fluorescent tube with an LED tube shows what that means on the driver side.
Socket, switch or fixed connection
| Option | When to choose it | What to watch |
|---|---|---|
| Socket | Moveable string lights or fitting | The unit must stay accessible |
| Switch | Everyday lighting in a living room | Switching on the 230 V side, before the transformer |
| Fixed connection | Strip on a ceiling, in an alcove or under a cabinet | Junction box recommended for maintenance |
On a fixed circuit, the connection is often made without the original connector. The technique is described in our guide to connecting an LED strip without a connector.
The rest comes down to the space left for the unit: it heats up, it needs to breathe, and it must stay reachable for the day it has to be replaced.
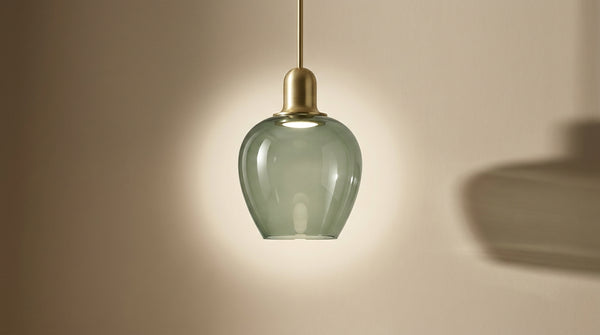
Nothing forces you to wire it yourself. A pendant light in 230 V arrives with its power supply and is installed like any other light point.
If the connection makes you uneasy, describe your strip and your room through our page to ask our team: we will tell you which transformer to take and which cable size, without selling you one module too many.
LED fittings ready to wire, room by room


Can you cut an LED strip?
Yes, only on the cut marks printed every three LEDs. Cutting elsewhere breaks the copper track and switches off the whole downstream section. Locate the dotted line and the centre pad, then cut cleanly with a craft knife, strip laid flat.
The marks are printed at regular intervals. Each one marks the end of a group of three LEDs and its resistor.
Where to cut, and where never to cut
- Printed mark: the only place where the strip cuts cleanly
- Middle of a group: never, the track opens and the downstream section goes dark
- End of the strip: bare pad for soldering or clipping on a connector
- Bent or crushed area: avoid, the copper cracks
When the remaining length does not work out, it is better to rethink the layout than to bodge the strip: our article on installing an LED strip on the ceiling shows how to line up the cuts on corners.
What happens if you cut in the wrong place
The downstream section goes dark at once, while the upstream part keeps working. No reliable repair exists on a cut track: the strip must be replaced, not glued back together.
For those who prefer to avoid the craft knife, ready-to-install fittings are reviewed by buyers, and those reviews remain available on the Google listing for Designix.
How do you wire an LED strip to a switch?
Switch the power on the 230 V side, before the transformer. The wall switch then controls the whole unit, and the low voltage side is never live when the room is off. A switch placed after the unit requires a model designed for direct current.
Switch on 220 V or on low voltage?
230 V remains the simplest and most durable solution. Switching on 12 V is only justified when the transformer must stay powered permanently, for example in a setup in series with detection.
- On the 230 V side: a standard wall switch controls the whole setup
- On the 12 V side: possible, but the model must accept direct current and higher currents
- Dimmer: only if the unit is stated to be dimmable
Several points on the same control are wired on the same logic as wiring spots in series, with a single feed to the power supply.
The most common case is the worktop. Our article on the LED strip under a kitchen cabinet details the cable routing and the position of the unit.
And for outdoor string lights?
Outdoor string lights are wired like a strip, with two extra requirements: the power supply must stay out of water, and the protection rating of the string lights must match the use. In our survey of 250 references in the Luminaire Led collection as of 28 September 2026, IP65 is declared on only 4% of the survey, and IP44 on 2%. In other words, weatherproofing is chosen, not assumed. Our selection of LED string lights groups the models intended for outdoor use.
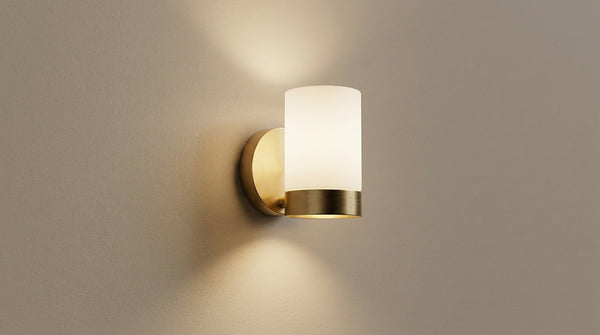
For a living room, a fixed light point remains simpler than string lights: a kitchen fitting or a wall light connects directly to the mains, with no transformer to fit.
Where is your 12 V LED strip or module going?
On the same subject
In stock · shipping costs shown at checkout · up to 30% off in your cart


Ready to turn inspiration into reality?
Tell us about your room, your style and your budget, and we will show you the pieces that truly suit your project.
Get guidance in 30 seconds →