Changing a Fluorescent Tube: Tube, Starter or Entire Fixture?
This article is also available in French: Changer un néon
Switch off the breaker, remove the diffuser, then twist the tube a quarter turn. Before buying, test the starter: it accounts for half of all flickering fluorescent tubes. If the ballast is the culprit, compare the price of an LED tube with that of a complete fixture.
How do you change a fluorescent tube, step by step?
Switch off the power at the breaker, remove the diffuser, twist the tube a quarter turn and pull it towards you. The job takes a few minutes for a tube, a little longer if the diffuser is clipped on. Measure the length of the tube, including the pins, before ordering its replacement.
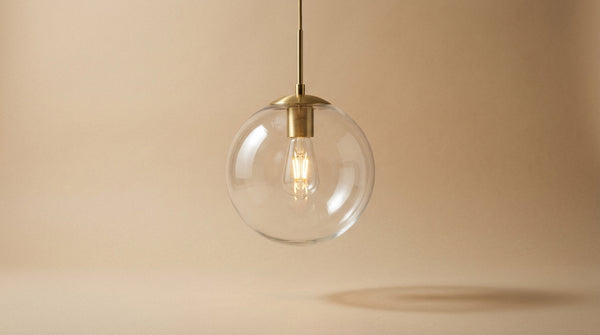
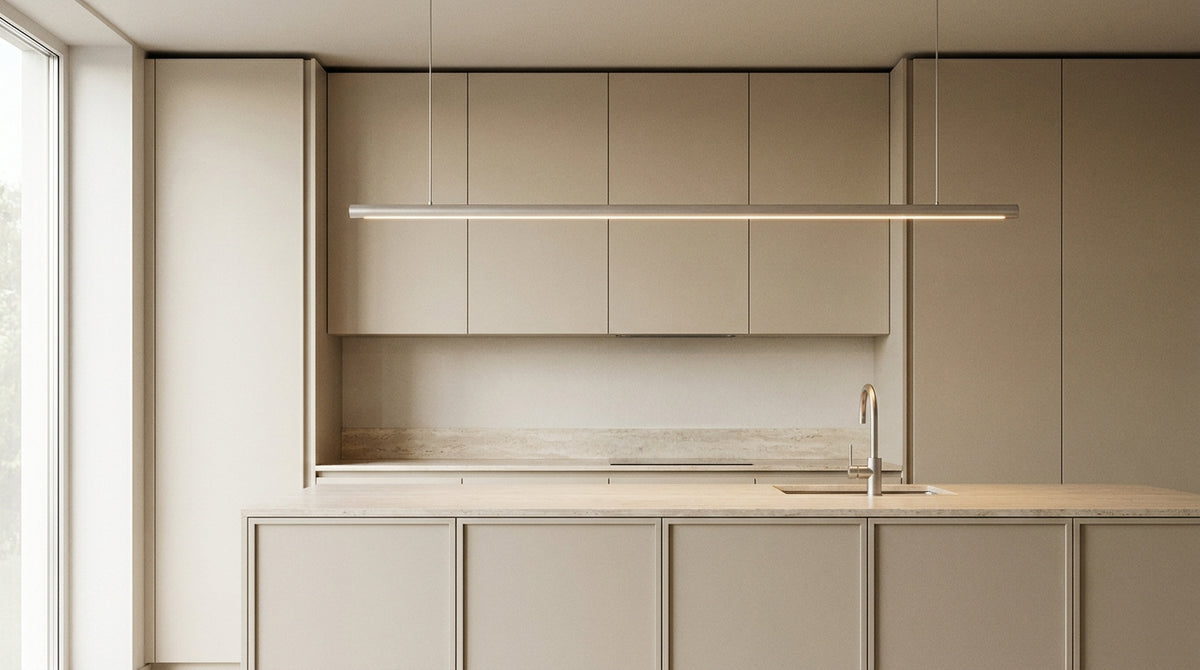
A batten that has been patched up two or three times is nearing its end. This is often the moment to look at a designer light fixture: the light comes down instead of grazing the ceiling, and the room takes on a different look.
How do you remove a fluorescent tube diffuser?
A clipped diffuser opens at the sides, a screwed diffuser is removed with a Phillips screwdriver, a sliding diffuser slides towards one end. Identify the type before forcing it: this is the part that breaks most often.
- Clipped diffuser: two side tabs to gently prise apart, without leverage
- Screwed diffuser: Phillips screwdriver, screws aligned along the edge
- Sliding diffuser: it slides in the grooves of the batten
- Metal grille: it unclips or unscrews depending on the model
How do you remove a fluorescent fixture?
Switch off the power, unscrew the batten's fixings, let it hang by the wires before labelling them. Photograph the wiring: you will reconnect it without hesitation.
When a new fixture replaces the batten, labelling soon pays off. Our article on how to wire a light fixture safely details the order of the wires, from live to earth.
How do you know whether it is the tube, the starter or the ballast?
Three faults look alike but do not call for the same action. A flickering tube points to the starter, blackened ends point to the tube, a complete lack of light with no flickering points to a tired ballast. Watching for thirty seconds saves you from buying the wrong part.
| What you observe | Part at fault | The right action |
|---|---|---|
| The tube flickers without starting | Starter | Replace it before anything else |
| The ends blacken, the light dims | Tube | Change the tube, keep the batten |
| Nothing lights up, no flickering | Ballast | Check it before buying a tube |
| Slow starting and continuous buzzing | Starter or ballast | Rule out the starter first |
All is not lost, though: replacing a fluorescent tube with an LED tube can sometimes be done without touching the ballast, depending on the model.
Where is the starter on a fluorescent tube?
The starter is the small white plastic cylinder with two pins, set into the side of the batten, directly above one end of the tube and a few centimetres from the cap. It unclips with a quarter turn, without tools. Recent battens with an electronic ballast have none at all.
How do you test a fluorescent starter?
The most reliable method is still swapping it: fit a new starter and see whether the flickering stops. A tired starter produces a wavering light and heats up; a dead starter leaves the tube completely off. The
On the same subject
In stock · shipping costs shown at checkout · up to 30% off in your cart


Ready to turn inspiration into reality?
Tell us about your room, your style and your budget, and we will show you the pieces that truly suit your project.
Get guidance in 30 seconds →