
Making a pendant light: the step-by-step DIY guide
This article is also available in French: Comment Fabriquer un luminaire suspendu
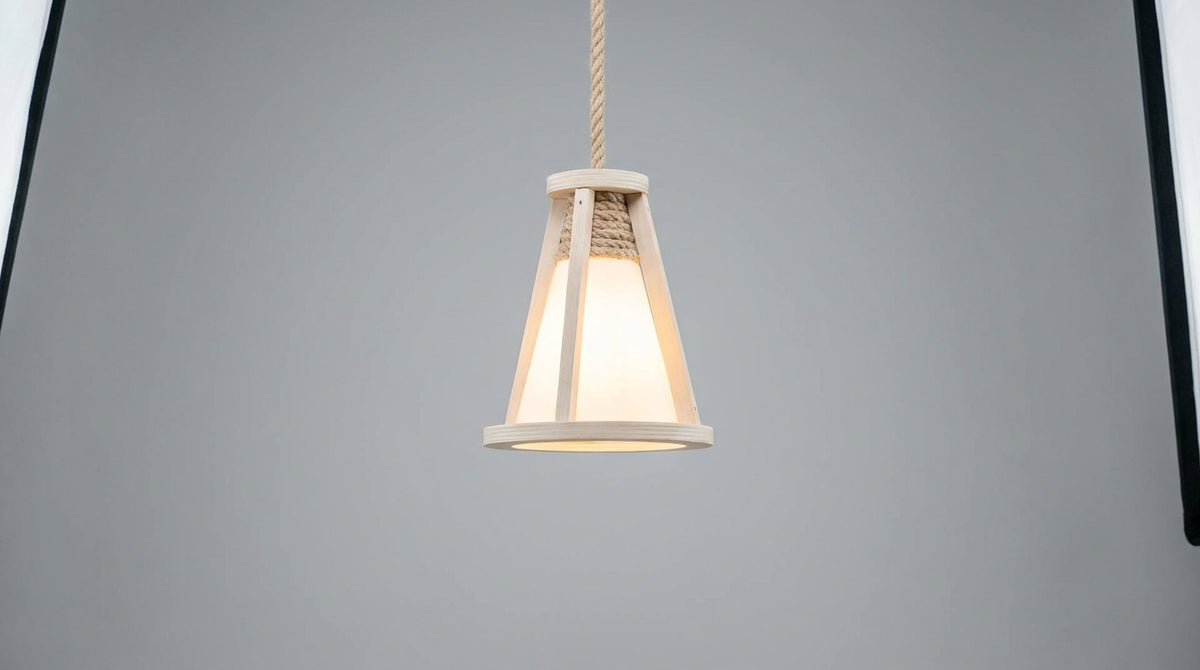
Gather a lamp holder, a three-wire electric cable, a lampshade, and a filament bulb, then connect the phase, neutral, and earth wires to the lamp holder before securing the assembly to the ceiling via the DCL box. Allow for an evening of work for a simple model, or a full day for a custom piece.
How can I make my own pendant light?
Choose the structure (exposed cable, wooden mount, or metal frame), attach the lamp holder to the three-wire cable, add a lampshade, and connect it to the ceiling. A streamlined model takes four steps and one evening. Keep a screwdriver, wire strippers, and automatic terminal blocks handy.
Basic materials for making a pendant light
The kit for making a light fixture remains simple: a lamp holder (E27 or GU10), a flexible three-wire cable, a cable clamp, a lamp holder cover, and a bulb. These materials can be found at DIY stores as well as in our designer lighting section.
If wiring puts you off, a ready-to-install pendant light saves you the electrical step while allowing you to maintain control over the style.
Making a wooden pendant light
Drill through a log or a plank to let the cable pass through, sand it, then attach the lamp holder underneath. Raw wood calls for a warm filament bulb. For a warm look without heavy tools, a natural material pendant like bamboo remains the simplest path.
Making an industrial pendant light
The industrial style features an exposed lamp holder, textile cable, and an Edison bulb. Add a metal grill or black plumbing pipe for the structure. No soldering: everything is screwed together. It is the fastest DIY pendant light project; one hour is enough.
Build or buy? According to a survey of 24 pendant lights in our catalog as of September 22, 2026, CE certification is present on 100% of product pages, the GU10 base on 50% and E27 on 38%, with a 2-year warranty on 54% and 5 years on 46%. If you are hesitant between building it yourself and buying a pre-wired one, the reviews published on our Google profile can help you decide.
What accessories are needed to create light fixtures?
You need a lamp holder adapted to the chosen base, a three-wire electric cable (phase, neutral, earth), a cable clamp, a lamp holder cover or ceiling rose, and a bulb. Add automatic terminal blocks and a wire stripper. These accessories are sufficient for most homemade pendant lights.
The lamp holder and the electric cable
The lamp holder holds the bulb and receives the wires; the three-wire cable powers it. Strip one centimeter, insert the phase and neutral into the lamp holder, and reserve the earth wire for connection to the ceiling. A textile cable nicely dresses up an exposed setup.
The right base: GU10 or E27
The base determines the bulb you can screw in. The E27 accommodates large filament bulbs, the GU10 compact LED spots. Check the marking before purchasing, as a lamp holder must be chosen for a specific base. Our guide details the right bulb base according to usage.
Choosing the bulb
Aim for the desired look: amber filament for soft light, warm white LED for everyday use. Power is measured in lumens, not watts. To compare technologies, this document explains how to choose the right bulb.
What are some homemade light fixture ideas?
The classics: a rope pendant wrapped around a glued balloon, a folded paper lampshade, a chandelier with metal branches or tubes, and an XXL model made of several globes. Each is mounted on the same lamp holder and cable base; only the exterior changes.
A rope pendant
Glue jute rope around an inflated balloon, let it dry, deflate it: the sphere will hold its shape. Pass the lamp holder through the center. Bohemian effect guaranteed for a bedroom or reading corner.
A paper pendant
Fold a thick paper lampshade or salvage an origami structure. Lightweight and graphic, it diffuses soft light. Use a cold bulb (LED) to avoid any risk near the paper.
DIY XXL and original chandelier
To build an original chandelier, multiply glass globes on a round frame, or try an XXL pendant over a table. Glass remains the premier material for homemade chandeliers; browse our glass pendants to find the right diffuser.
Above a dining table, a large format frames the guests and structures the room, as detailed in our guide to choosing a chandelier for the dining room.
Ready-to-install designer pendant lights, if you prefer to buy
 7586 steel chain
 K3333SS black lampshade 13 cm round
 Detachable glass lampshade I15467S – Handmade smoked glass for E27 light fixtures
 Dimmable smoked bulb with E27 base 120 lumens 1800 Kelvins 4.5 watts
 Spot / wall light 1 light Oeroe 4113ZW black with E14 socket
 Dimmable smoked bulb with E27 base 140 lumens 1800 Kelvins 4.5 watts
Still hesitant about the style to assemble? The test below will guide you toward the shape and material that will suit your room.
Which pendant style matches your project?
How do I offset a light fixture and create a ceiling light where none exists?
Fix a hook or a ceiling rose to the ceiling at the desired location, run the cable to the existing electrical outlet along the wall, hide it in a trunking or decorative chain, then connect to the DCL box. This DIY ceiling light requires no wall cutting.
Creating an offset pendant light
The offset pendant moves the light point without touching the electrical supply. Start from the DCL box, stretch the cable toward a hook placed above the table, and allow for some slack. A matching chain turns the constraint into a decorative detail.
Connection at the ceiling
At the ceiling, everything goes through the DCL box: connect phase, neutral, and earth in the connector, clip it in, then screw on the ceiling rose. Our step-by-step guide shows the ceiling connection (DCL box) in detail.
Under a slope, adjust the cable length to keep the pendant level, as for a pendant light under a sloped ceiling.
If the electrical connection makes you hesitant, ask our team your question or opt for an already wired and certified pendant to go straight to the result.
Is it mandatory to connect the earth wire to a light fixture?
Yes, as soon as the light fixture has an accessible metal part: the earth (green and yellow wire) discharges a fault and protects against electric shock. A fully insulated device, in class II, has no earth terminal. When in doubt, always connect the earth present in the DCL box.
When the earth is mandatory
A metal frame, a metal-cased lamp holder, or an exposed tube requires the earth. Plastic or glass models in class II do not. Look for the double square symbol on the lamp holder: it indicates class II.
Securing the assembly
Switch off the circuit breaker before any work, verify the absence of voltage, then tighten each terminal. To go further, this guide explains how to connect a light fixture safely.
If the device is already in place and no longer works, it is often faster to repair an existing light fixture than to start from scratch.
Once you have mastered the assembly, the pleasure of style remains: shapes, materials, and colors follow the pendant light trends season after season.
In stock · shipping costs shown at checkout · up to 30% off in your cart


Ready to turn inspiration into reality?
Tell us about your room, your style and your budget, and we will show you the pieces that truly suit your project.
Get guidance in 30 seconds →


