Removing a fluorescent tube from the ceiling: the clean method, without breakage
This article is also available in French: Comment enlever un néon
Cut the power at the breaker, not at the switch. Remove the cover, grip the tube with both hands at its ends, twist it a quarter turn until the pins are released, then lower it. Removal takes two minutes. The rest is about choosing what will take its place.
How do you remove a fluorescent tube from its holder?
Cut the power at the breaker, unclip the cover, place both hands at the ends of the tube and twist a quarter turn until the pins are released. Lower the tube without twisting it. The holder stays in place: it is the pins that leave their slots.
Cut the power at the breaker, not at the switch
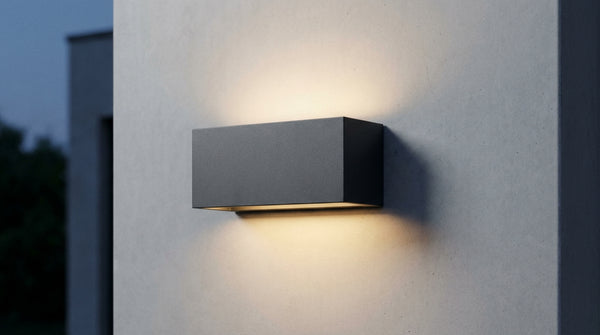
A wall switch only cuts one conductor. On a fixture whose contacts you are about to touch, that is not enough. Switch off the breaker for the circuit, then try to turn on the light: if nothing comes on, the circuit is dead. Once the tube is in your hand, the rest happens elsewhere: the neon wall light collection exists as a fixture, with 15 references in the shop counter as of 29 September 2026.
- Breaker for the right circuit, identified on the panel
- Check by trying to switch on before climbing
- Step ladder stable, never a chair
- Gloves if the cover is dusty or brittle
Removing a ceiling fluorescent tube, the right ladder height
The tube is handled at arm's length, above your head. Choose a step ladder whose top step leaves your hands at ceiling level: any higher and you work with your arms raised and the quarter turn becomes approximate. On a ceiling fixture tube, the cover often comes off before the tube, and a side screw sometimes holds the grille as much as the holder. A few pointers on the ceiling fixture fluorescent tube help you avoid forcing a plastic part that cannot be bought separately.
How do you remove the cover of a fluorescent tube, in a kitchen or bathroom?
Pinch the plastic cover at its ends and pull gently downwards: the tabs give way without tools. On a grille model, unscrew the side screw, then lift the grille from one side. In every case, the cover comes off before the tube.
Clipped diffuser or grille: two different moves
- Clipped diffuser: press downwards at each end, never in the middle
- Grille: one or two side screws, then tilt it gradually
- Yellowed plastic: it breaks more than it bends, remove it flat
- Before removal: photograph the wiring, refitting will be quicker
How do you remove a kitchen fluorescent tube
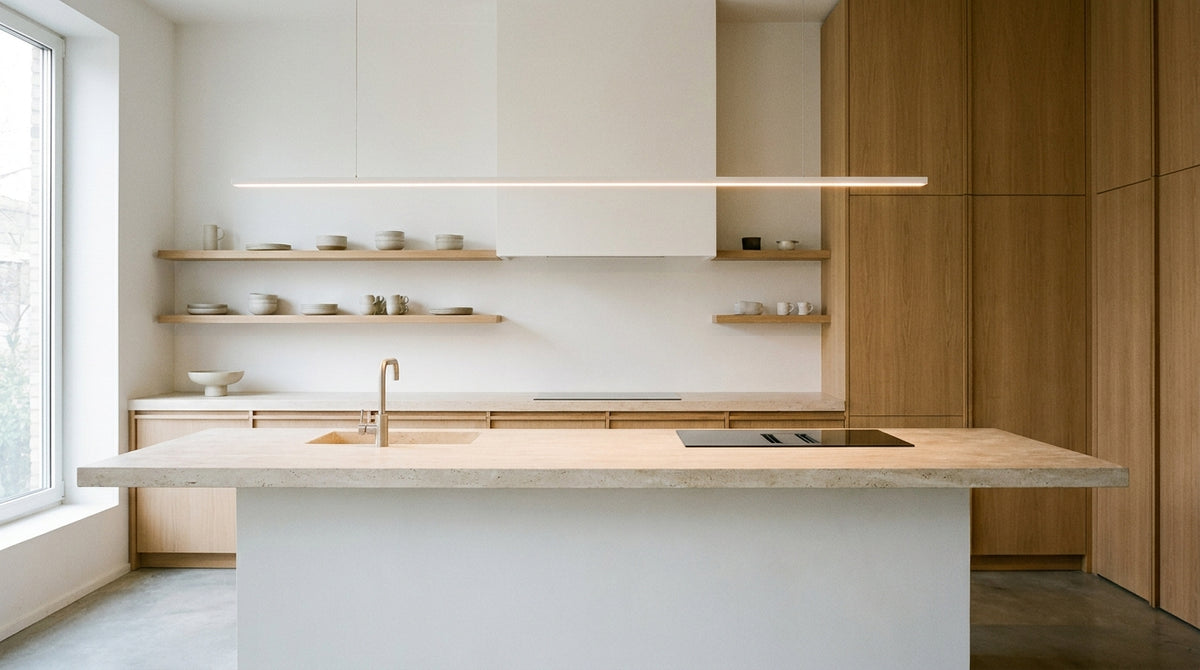
In a kitchen, the fluorescent tube is almost always screwed under a wall unit or against the ceiling, above the worktop. First clear what it lights: otherwise you are working above fragile objects. Once the tube is removed, the real question opens up, and a kitchen light placed higher lights the whole room rather than one linear metre.
How do you remove a bathroom fluorescent tube
Humidity changes things. A fluorescent tube above a mirror suffers from condensation: the screws are marked, the covers more brittle, the contacts oxidise. Replace it with a fixture designed for this environment, with a suitable protection rating. A protected bathroom light holds up far better than a bare tube exposed to steam.
Which fluorescent tube do you need to remove, and what should replace it?
Can a fluorescent tube work without a starter?
No, a fluorescent tube needs a starter to strike the arc, except on electronic ballast models, where the function is built in. A tube that flickers, takes several seconds to start or whose ends stay dark almost always signals a starter at the end of its life.
How do you know if a fluorescent tube starter is dead?
The symptom is clear: intermittent lighting, repeated flickering, laborious starting. The starter costs little and is replaced with the tube removed, in a few seconds. If it changes nothing, the problem goes back to the ballast: repairing then loses all point against the price of a new fixture. The scenarios are detailed in replacing a fluorescent tube starter.
Can you replace a fluorescent tube with an LED tube?
Yes, on three conditions: length, cap and ballast. An LED tube is chosen first by its size, often T8 with a G13 cap, then according to the type of ballast in place. On a magnetic ballast, the starter is removed or the ballast is bypassed depending on the model. On an electronic ballast, a compatible tube fits directly. The combinations that work are summarised in replacing a fluorescent tube with an LED tube.
- Length: identical to the old tube
- Cap: T8 in G13 on most battens
- Ballast: magnetic or electronic, compatibility depends on it
- Power cut: at the breaker before any handling
Why won't my LED tube light up?
Two causes keep coming back: a tube not compatible with the ballast in place, or a starter left in its housing when it should have been removed. An LED tube that stays off on a magnetic ballast installation often signals this oversight.
You are not refitting a tube: tell us the room and the height, and we will point you to the right fixture. Simply ask for advice on your project.
What should you replace a fluorescent tube with when you want a room with style?
With a source that lights the room, not just a strip of worktop. Above an island, a pendant lowered to table height. In a hallway, two wall lights at eye level. In a room with no central point, wall lights and a floor lamp. If you hesitate between two options, the Designix Google listing can be checked in one click.
The batten that bleaches a kitchen
A bare batten on the ceiling lights hard, flat, without relief. It is the light that makes a kitchen look like an office corridor. Two adjustments change everything: a warmer temperature, around 2700 K to 3000 K instead of the 4000 K of a workshop tube, and a source lowered to table height. The choice is explained in white or yellow light. Above an island, a kitchen pendant replaces three metres of tube with a single light point.
The hallway that hurts your eyes
A hallway tube lights the walkway, not the walls, and tires the eye with every pass. Two wall lights placed at eye level are enough, and the wall light family covers this need. If the ceiling is the only available point, a flat hallway light does the job without glare.
Lighting a room with no central point
A living room with no electrical supply in the ceiling is not condemned to a batten. A floor lamp, a wall light and a table lamp make three sources at different heights, which gives more relief than a single ceiling light. The possible combinations are detailed in lighting a room without a ceiling light. And when the light point must stay high up, a slim LED ceiling light takes the place of the batten without taking on its look.
What should you do with the old fluorescent tube?
A fluorescent tube contains mercury: it goes neither in the bin nor in the yellow recycling bag. It is taken to a recycling centre, in the electrical waste channel.
- Recycling centre: the tube is handed in whole, never broken
- Transport: keep it in its packaging or in a closed bag
- Cover and grille: plastic and metal are sorted separately
Replacing a fluorescent tube: the light that takes its place


In stock · shipping costs shown at checkout · up to 30% off in your cart


Ready to turn inspiration into reality?
Tell us about your room, your style and your budget, and we will show you the pieces that truly suit your project.
Get guidance in 30 seconds →