Replacing a fluorescent starter: when, how, and what next?
This article is also available in French: Remplacer starter néon

Switch off the circuit breaker, remove the diffuser by twisting it a quarter turn, then take out the starter with a quarter turn in its socket. Choose the replacement at the same rating as the old one. If the tube has several years behind it, compare the cost of a repair with that of a new light fitting before buying.
What exactly is a fluorescent starter?
A fluorescent starter is a bimetallic igniter housed in the fitting, right next to the tube. It sends a brief pulse that ionises the gas and strikes the arc, then it steps aside. Without that pulse, a fluorescent tube flickers at the ends or refuses to start.
The component is a common wear part, and that is often why the real question gets postponed: as long as it lights up, you repair it. The day you want something other than a white tube on the ceiling, your eye turns to a designer light fitting that has actually been chosen.
What is a starter for in a fluorescent tube?
It only works at start-up, for a brief moment. Once the arc is established, it stays out of the circuit.
- Bimetal: it heats up, deforms and creates the starting pulse
- Ballast: it limits the current during ignition, and it is the part that really heats up
- Tube: it provides the light on its own, with pins pushed into the sockets
- Capacitor: it filters interference on older installations
Replacing part by part is described in our guide to changing a fluorescent starter.
Where is the starter on a fluorescent tube?
On a batten, it sits in a small cylindrical socket on the side of the fitting, often hidden by the tube. It is a short plastic box with two pins and a slot where you insert a screwdriver to unscrew it a quarter turn.
How do you know if a fluorescent starter is dead?
Three signs never lie: the tube flickers without ever lighting properly, it stays black at both ends, or it takes a long time to start. When the tube is new and the fault returns, the starter is the first suspect, before the ballast.
How to test a fluorescent starter
The most reliable test is swapping: fit a new starter, or one you know works. If the tube starts straight away, the diagnosis is made. A multimeter is no help here, a starter can only be checked while running.
- Slow flickering: starter at the end of its life, sometimes a tired ballast
- Blackened ends: tube wear, replace it at the same time
- Noisy starting: bimetal sticking, replacement is needed
- No reaction: first check that power is reaching the fitting
A useful clue: when it is a ceiling light that flickers while everything is new, the cause lies elsewhere. An LED ceiling light has no starter or bimetal, the regulation is built into the driver.
Fluorescent tube without a starter: what happens
Without a starter, a fluorescent tube does not strike. The ballast supplies the voltage, but nothing triggers ionisation: the tube stays off or lights faintly at the sides. Recent battens escape this rule, with an electronic ballast replacing the starter and bimetal pair.
How to change a fluorescent tube: step by step
Switch off the circuit breaker, twist the diffuser a quarter turn, then turn the tube a quarter turn in its sockets to take it out. The starter is then unscrewed the same way. No tools are needed, apart from cutting the power.
If you have already had occasion to change a fluorescent tube, the order of steps will be familiar: here, we focus on the small part that goes back in.
How to remove a fluorescent diffuser
The diffuser comes off without forcing. On most battens, you push it slightly towards the fitting and then twist it a quarter turn. Two lugs hold it at the ends: if it resists, one of the two is not released.
How to remove a fluorescent fitting
- Switch off at the circuit breaker and check the tube no longer lights.
- Remove the diffuser, then take out the tube.
- Unscrew the starter from its socket and keep it as a rating reference.
- Disconnect the fitting from the circuit if a light fitting is replacing it.
- Refit the tube and diffuser, then restore power and test.
Should you replace the starter or switch to an LED tube?
Replacing the starter makes sense if the tube is recent and the fitting sound. As soon as the fitting is old or the ballast hums, an LED tube has the advantage: it uses less, lights without cold flickering and removes the bimetal part.
The conversion method, direct power or ballast-compatible tube, is detailed in our article on replacing a fluorescent tube with an LED tube.
Is a starter needed for an LED tube?
No. A direct-power LED tube works without a starter or ballast, the driver is built in. On a ballast-compatible LED tube, the starter must be removed, but the ballast stays in place. In both cases, the bimetal is no longer of any use.
Price: what really costs in the operation
The visible item is the part itself, a wear component. The others weigh more heavily in the decision.
- Time: cutting the circuit, reaching the fitting, testing
- Frequency: a tired tube comes back sooner than a starter
- Call-out: if someone has to come out for a single point
- Replacement: a light fitting lasts for years and moves from room to room
If you are hesitating between one last repair and a replacement, asking us your question with a photo of the fitting is enough to decide.
Before ordering, take a look at our Google listing: buyer feedback can be checked there in one click and stays up to date.
Which room is the fluorescent tube you want to replace in?
And after the repair: what lighting to install?
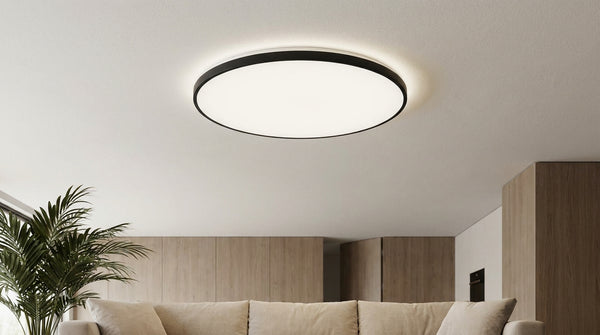
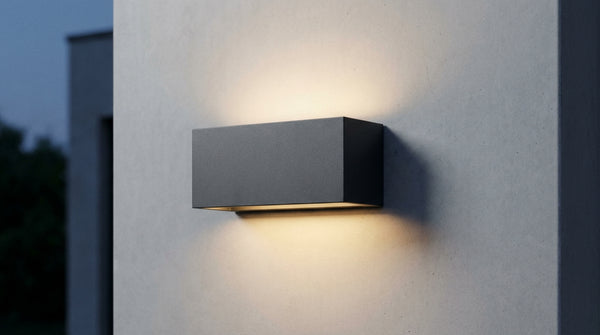
Replace the central point with a fitting suited to the height and the use: a ceiling light or pendant above a table, wall lights on the walls, a floor lamp in a corner. You move away from a single light source to several, and the room changes face.
When a fluorescent tube is replaced by a designer light fitting
A service tube lights widely and flatly. A chosen light fitting lights just right: mounting height, shape, material and colour temperature decide the result.
- Living room: a chandelier or pendant for the central point
- Hallway and bedroom: wall lights at hand height, which light without dazzling
- Kitchen: a kitchen light placed above the worktop
- Bathroom: a bathroom pendant in IP20, outside the water zones
Decorative neon: what it changes in a room
A decorative neon does not replace a service tube: it draws a line, a word, a shape, and is switched on in the evening as an accent. Well placed, it gives character to a wall without lighting the whole room, and that is where designer LED neon without kitsch stands apart from a simple coloured tube.
Our Neon Wall Light collection has 15 references as of 29 September 2026, from slim wall-mounted neon to more graphic shapes.
Before settling on the shade, it is better to decide the question of white or yellow light: it is what decides whether the room feels warm or clinical.
If the project covers several rooms, the approach described for switching to all-LED avoids working backwards.
Installers fitting out a whole home will find the equipment and references in our trade area.
Replacing a fluorescent tube with a chosen light


In stock · shipping costs shown at checkout · up to 30% off in your cart


Ready to turn inspiration into reality?
Tell us about your room, your style and your budget, and we will show you the pieces that truly suit your project.
Get guidance in 30 seconds →